Tag

momlife

Browsing

My Thoughts on Teen Pregnancy

Earlier today, I witnessed adult bullying of a soon to be Teen Mom, on one of my Facebook groups.

I am usually the one to scroll through all these heated conversations and just make my own mental  opinion and move on. I don’t like wasting my time convincing other people to agree with my personal opinion.This one, however, hit home.

The comments were awful and degrading. The worst part? They came from other moms. It is SO true, that we are living in a world full of internet trolls. The people who sit behind a computer and bash on others because it makes THEMSELVES feel better. I have had enough of it.

I am fully aware that the stigma behind Teen Pregnancy is negative one. Why shouldn’t it be? What the public sees is what ever the media or press puts out there for them to see – which is mostly negative. Now, don’t get it twisted, I am not advocating Teen Pregnancy, no, no, not at all. What I am advocating is letting those Teen girls that do decide “to go through” with the pregnancy a voice and a chance.

A voice to tell their stories, because I bet you that each of them has a different one to tell. A chance, to get ahead. Don’t put all of us in a corner because it makes it easier for society to deal with it. 

Have you ever taken the time to actually listen instead of judge?

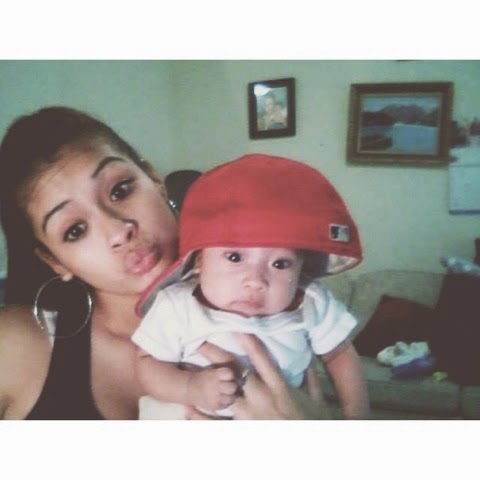
I am so passionate about this because I was a Teen Mom. I’ve been through it. I lived it. I STILL get stares and comments from strangers because they think I’m the babysitter, until they hear Jayden call me “mommy”.

How sad is that?

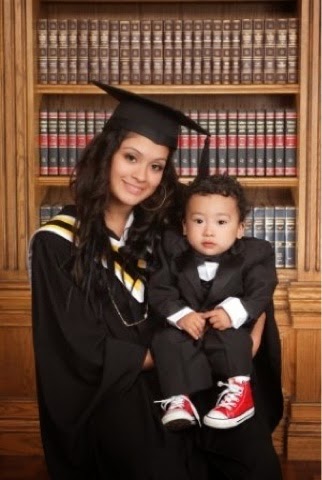
That even at 24 years old, after graduating High School, after graduating College, after owning my first car, after everything I have accomplished since giving birth to Jayden at 16, I still can’t seem to get away from the negative Teen Mom Stigma.

One thing I ask from my readers to support me on my vision to make a community of women of empowerment and inspiration, no matter the age.

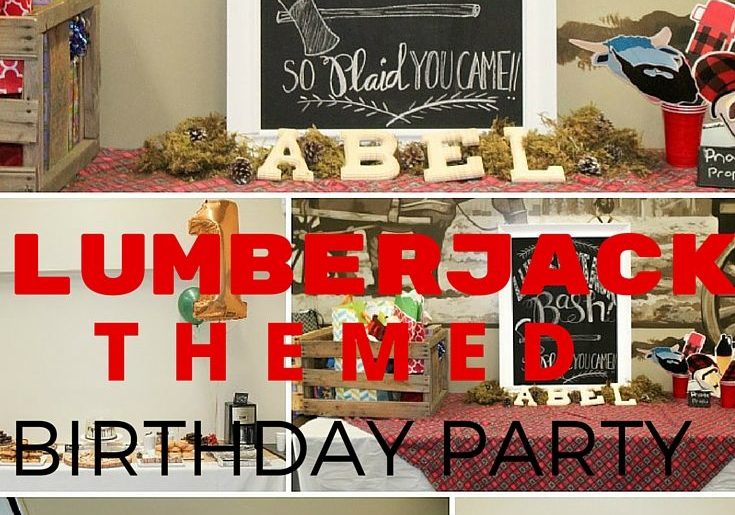
Lumberjack Themed Birthday Party !!

I can’t believe that we just celebrated Abel’s first birthday just a couple weeks ago! The month of December was extremely busy for our family. Not only did we have to think about Christmas Eve, Christmas, and New Years, we also had to think about Abel’s first birthday!

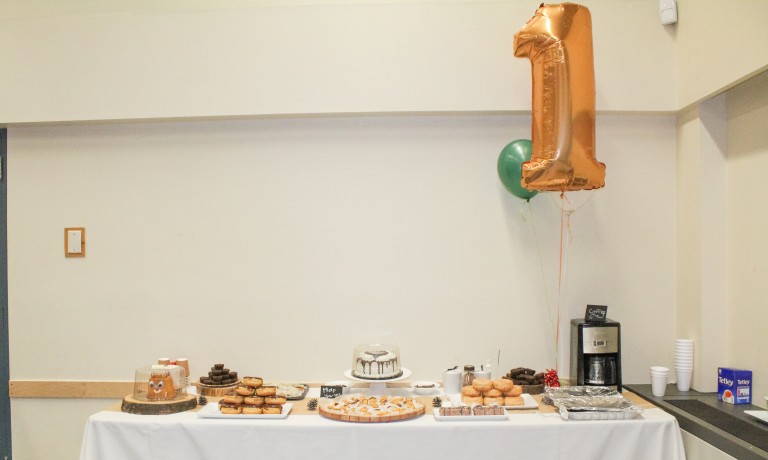
If you’re wondering, Abel was born on his due date of December 27, 2014. Knowing that our guests would  have christmas parties to attend, we sent out invitations, and when I say sent out invitations, I mean made a Facebook event, in early October. We wanted it to be special, so we went all out. We rented a room in a community centre, invited up to 70 guests, did a bunch of DIY and even made all the goody bags.

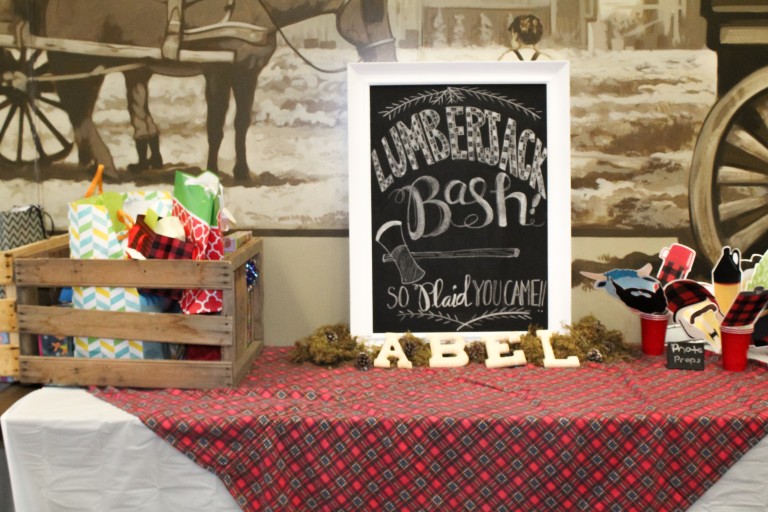
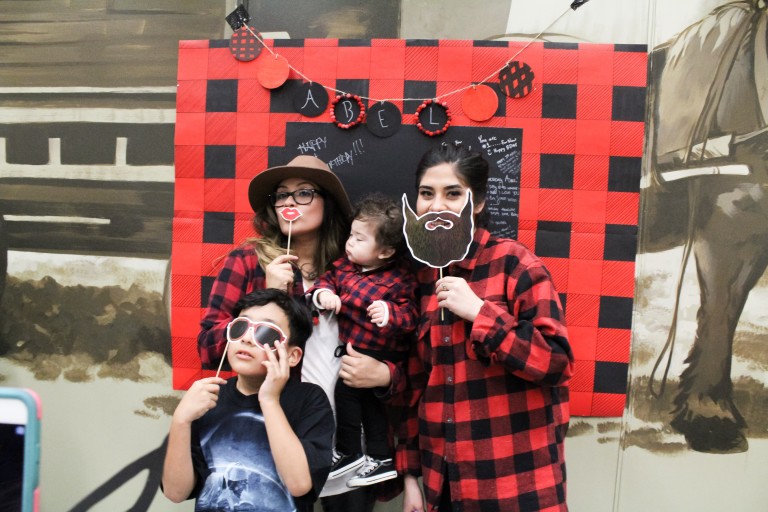
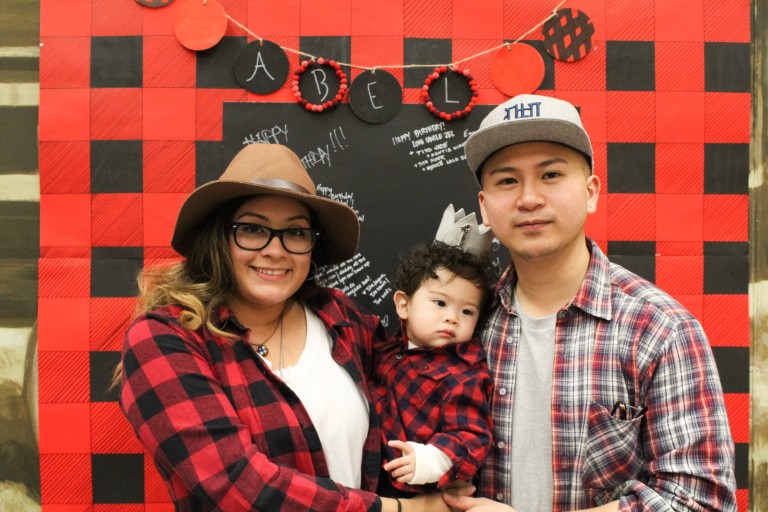
We decided on a  “Lumberjack theme” and asked all our guests to wear a Plaid button up. It was so much fun seeing everyone participate in the theme and it was great to see all their smiling faces using our homemade backdrop and props!

We couldn’t have been more thrilled with the end result. Overall, our day was spent laughing, smiling, and making crazy memories for our little boy! It took us two and a half months to plan Abel’s First Birthday Party, so I wanted to share a little of our day with all of you (scroll down to meet the shops)!

Lumberjack theme party, Lumberjack first birthday party, Lumberjack Bash, Lumberjack

Lumberjack theme party, Lumberjack first birthday party, Lumberjack Bash, Lumberjack

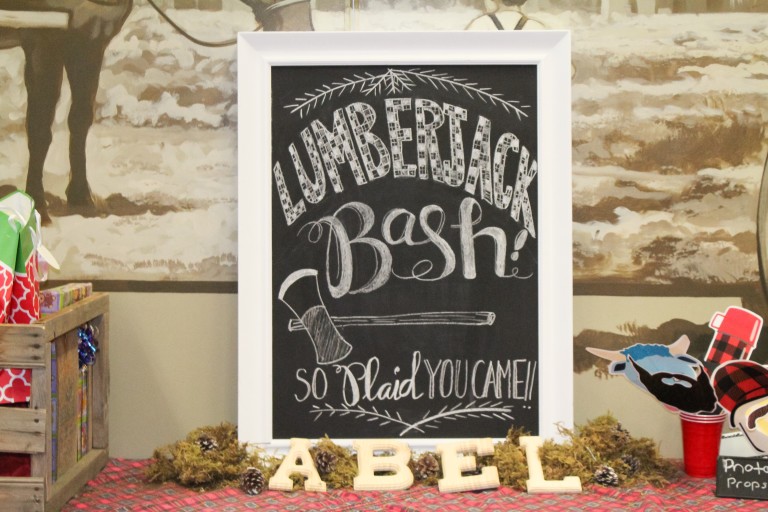
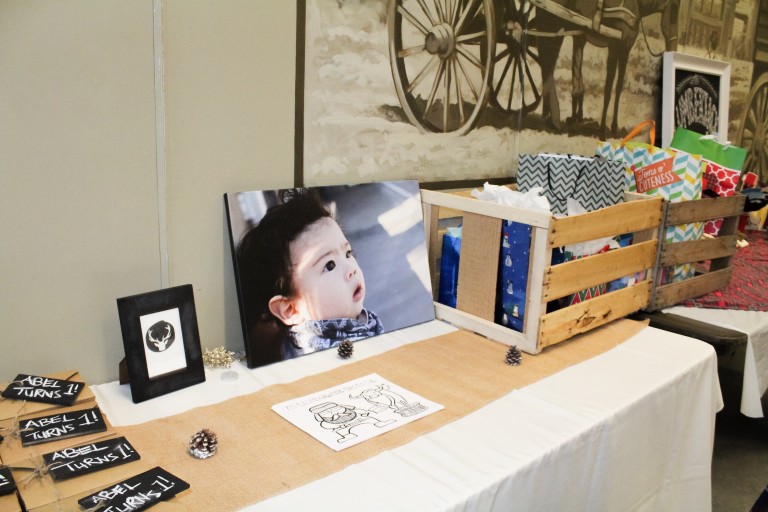
This chalk frame was a DIY project by a very good friend of mine. The frame was thrifted, and with a little TLC she was able to add the Chalk paint. She also wrote/drew on this beautiful message for us that I sourced from Pinterest. Thank you Kristen !
Lumberjack theme party, Lumberjack first birthday party, Lumberjack Bash, Lumberjack

Lumberjack theme party, Lumberjack first birthday party, Lumberjack Bash, Lumberjack

Lumberjack theme party, Lumberjack first birthday party, Lumberjack Bash, Lumberjack

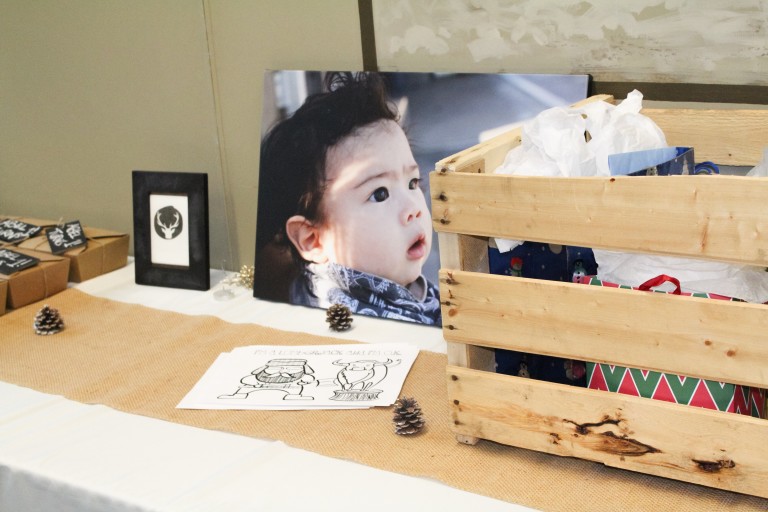
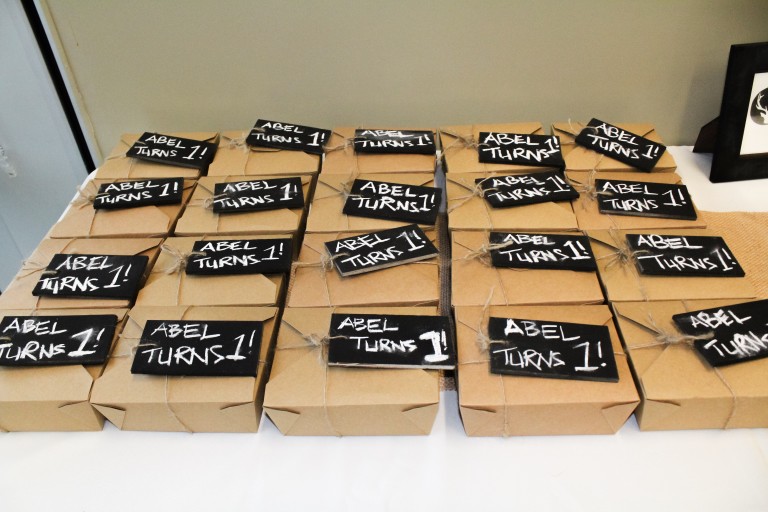
Loved how our goody bags turned out! All the boxes had all the ingredients needed to make smore’s, Graham crackers, chocolate, and marshmallows! We even included a Hot Chocolate pack just for kicks!

Lumberjack theme party, Lumberjack first birthday party, Lumberjack Bash, Lumberjack

Lumberjack theme party, Lumberjack first birthday party, Lumberjack Bash, Lumberjack

Lumberjack theme party, Lumberjack first birthday party, Lumberjack Bash, Lumberjack

Using four pieces of red poster board, one piece of black poster board, black paint, a black sharpie, a ruler, and little bit of determination, Miguel built this incredible red & black plaid backdrop!

Lumberjack theme party, Lumberjack first birthday party, Lumberjack Bash, Lumberjack

Lumberjack theme party, Lumberjack first birthday party, Lumberjack Bash, Lumberjack

Lumberjack theme party, Lumberjack first birthday party, Lumberjack Bash, Lumberjack

SHOPS INCLUDED:

“Into the woods” party box by Heather & Gem

(2) Ivory, white or cafe tablecloths

(3) 10-12″ cedar rounds

(1) Glass or White cake stand

(2) Burlap table runners

(2) Wooden crates

(1) Bag of moss

(1) Mylar Number Balloon (40″, variety of colours, uninflated)

(2) Giant Round Balloons (36″, your choice in colour, uninflated)

(1) Mason Jar Drink Dispenser

(16) Party Plates (your choice in available design)

(16) Party Cups (your choice in available design)

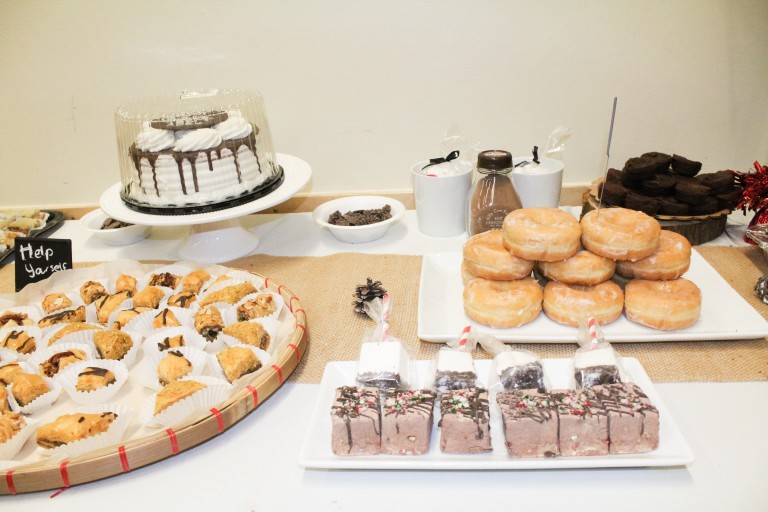
Holiday Mint Chocolate Marshmallows & Hot Chocolate by Marshandmallow

Canvas Print by Canvas Pop

Reindeer Print by Kardz Kouture

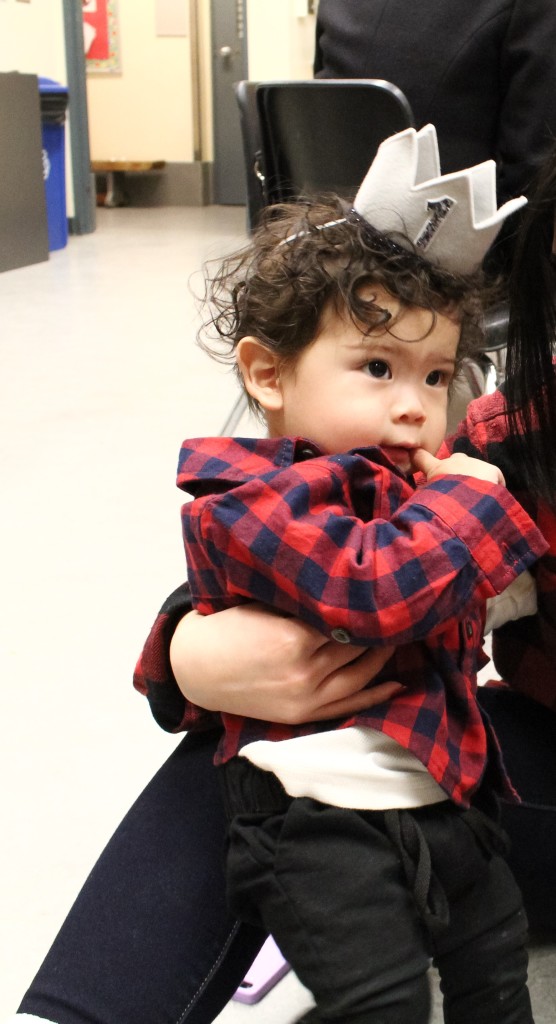
Birthday Crown by Presh Toast

Photo props by Paper Built Shop

I highly recommend all the shops involved to all of you! They make party planning so much easier!

xoxo,

HEYDY

DIY Lip Balm w/ Tiny Fern

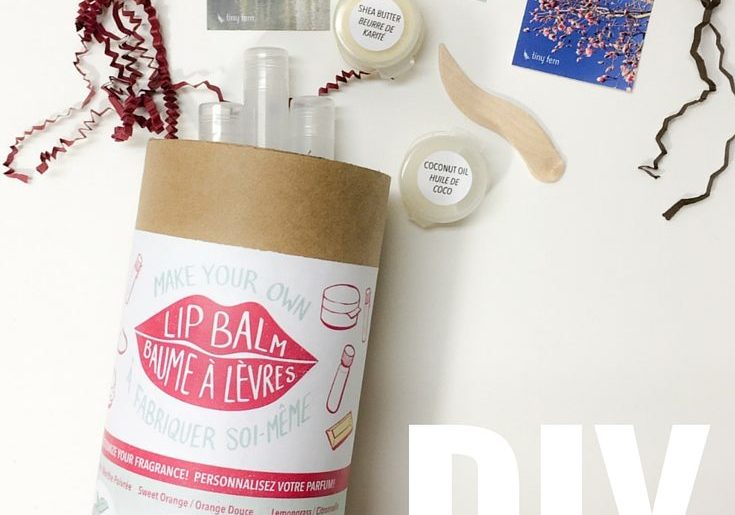
Last month, I had the pleasure of meeting Master Crafter, Meghan Maclean, at a local pop-up shop. She was selling DIY Body Butter and DIY Lip Balm kits. Being a do-it-yourselfer, I instantly thought it was perfect! Everything I needed to make Lip Balm or Body Butter in a kitDo you know what this means? It means you don’t have to go out and buy all the ingredients individually and then you don’t have a huge amount of ingredients left to store away after your done! I don’t know about you, but that sounds pretty amazing for a busy mom like me!
Later that same week, I heard Meghan was hosting a “Make your own Bath Bomb” workshop in honour of her welcoming Tiny Fern to the world ! I immediately signed up Jayden and I. Under Meghan’s guidance, we both made our own signature bath bombs to take home! Being the ultra cool human that she is, Meghan generously gifted me one of her DIY Lip Balm Kits to try out at home with Jayden.

Tiny Fern’s Make Your Own Lip Balm Kits include:

  • Beeswax
  • Cocoa butter
  • Shea butter
  • Coconut oil
  • Apricot kernel oil
  • Essential oils

Other items that are included:

  • Set of instructions (typed below for your ease of reference)
  • 6 empty lip balm containers
  • Stir stick
  • Bamboo spatula
  • Dropper

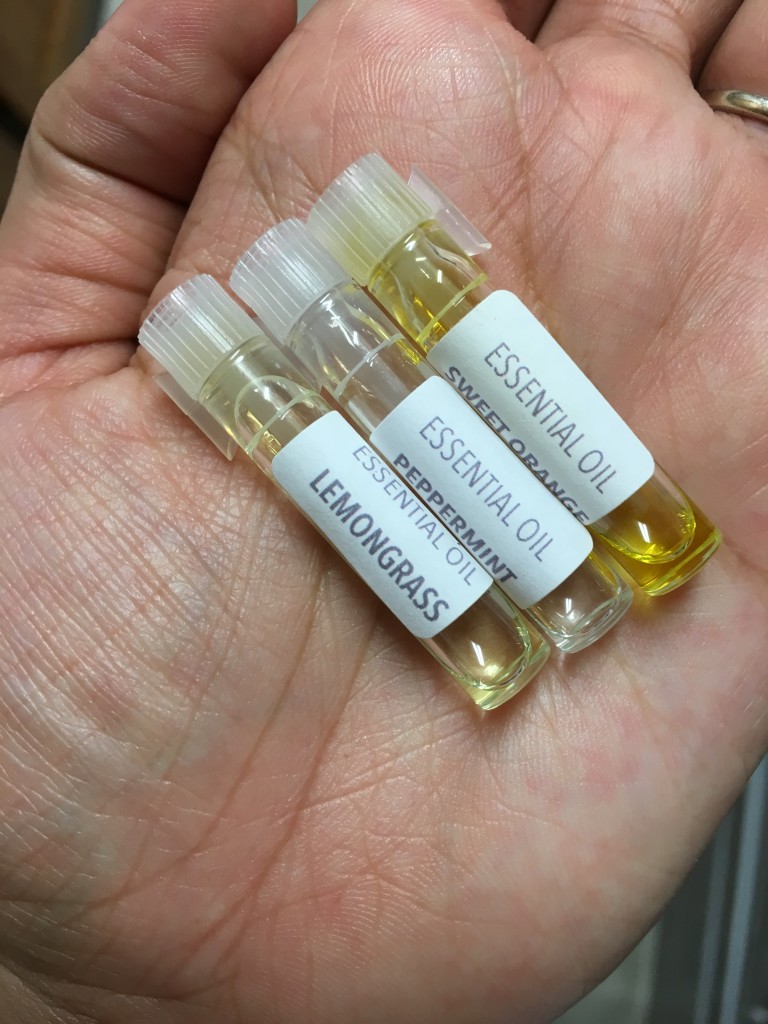
The Tiny Fern Lip Balm kit includes everything needed to make 6 lip balms using natural ingredients. Each kit contains three different essential oils so that you can create your own unique lip balm. The essential oils that are included are peppermint, sweet orange and lemongrass. A selection of customizable labels make the final product completely your own.

After a very hectic holiday, we finally entertained the do-it-yourselfer within us ! As a treat to you lovelies, I typed up her instructions for a better idea of how easy it is to make your own lip balm with her kits!
STEP 1 
Lay newspaper out next to the stove, where you will be pouring the mixture into the lip balm tubes. Remove the lids from the tubes and twist the bases to move the little inner part as far down as it will go (about 2/3 of overall tube length). Place the containers on the newspaper, very close together.
STEP 2
Fill the pot with 1 inch of water. Place the bowl into the pot so that the bottom of the bowl is sitting just above the water.
STEP 3 
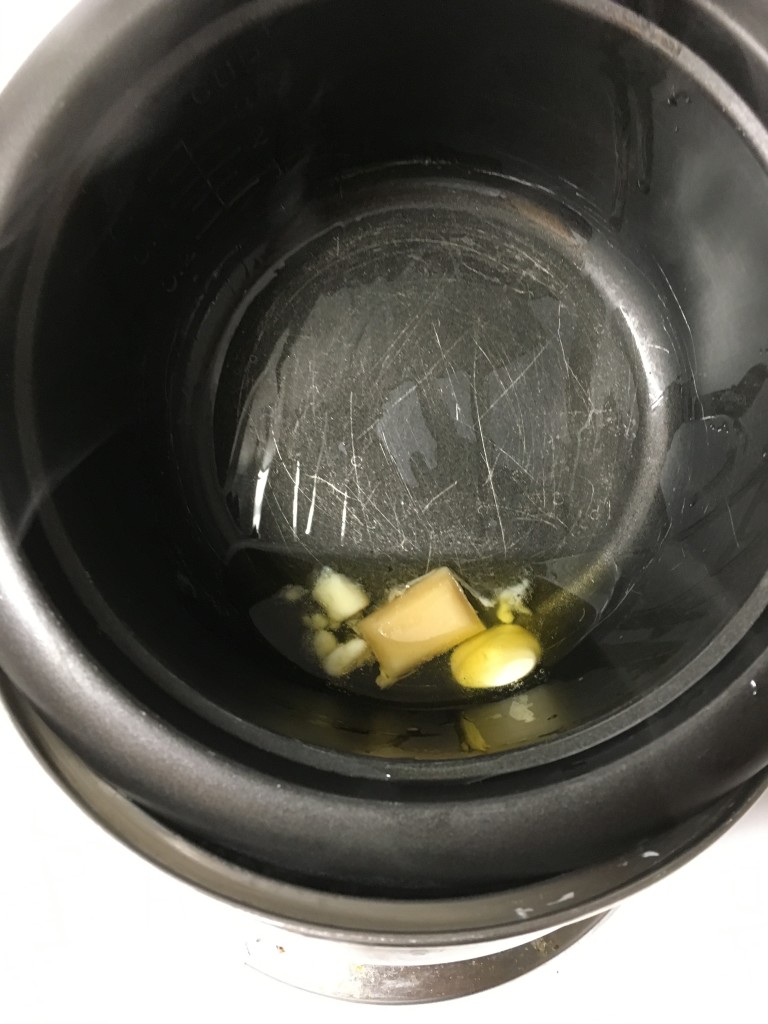
Place the beeswax, cocoa butter, shea butter, apricot kernel oil and coconut oil in the bowl. Use the wooden spatula to scrape ingredients out of their containers. Place the pot on the stove and gradually heat the water until it is almost boiling. Stir the contents of the bowl constantly until melted.
DIY lip balm, how to make your own lip balm, Tiny Fern
STEP 4 
Remove the pot from heat, keeping the bowl over the hot water so that the mixture stays warm. Add 9 drops of the essential oil(s) of your choice and stir. Each vial of essential oil contains 9 drops, so if you’re combining olds reduce the amount of each oil so that you are using 9 drops in total.
DIY lip balm, how to make your own lip balm, Tiny Fern
STEP 5
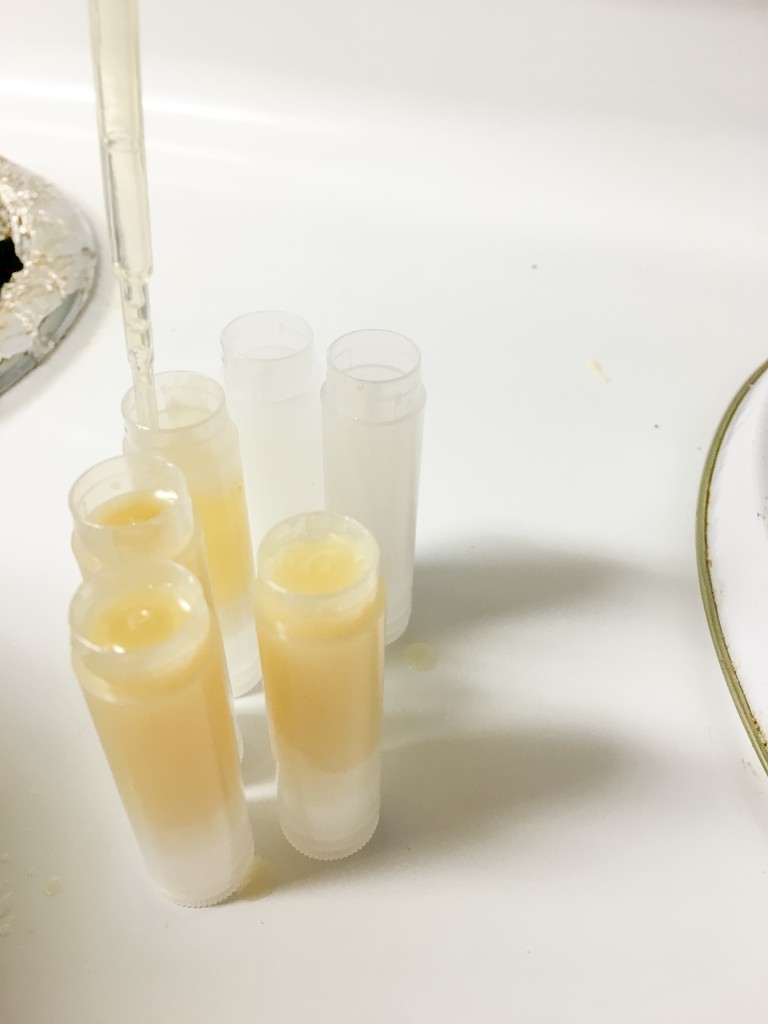
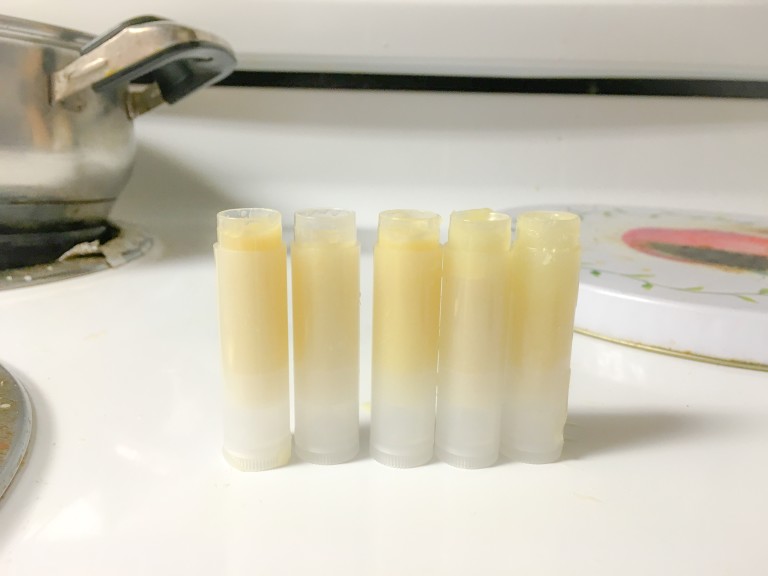
Use the dropper to fill the containers. This must be done quickly since the mixture will start to harden as soon as it is removed from the heat.
DIY lip balm, Tiny fern, how to make your own lip balm
STEP 6 
Let the containers sit at room temperature for several hours until cooled and completely hardened before the lids on.
DIY lip balm, Tiny fern, how to make your own lip balm
STEP 7
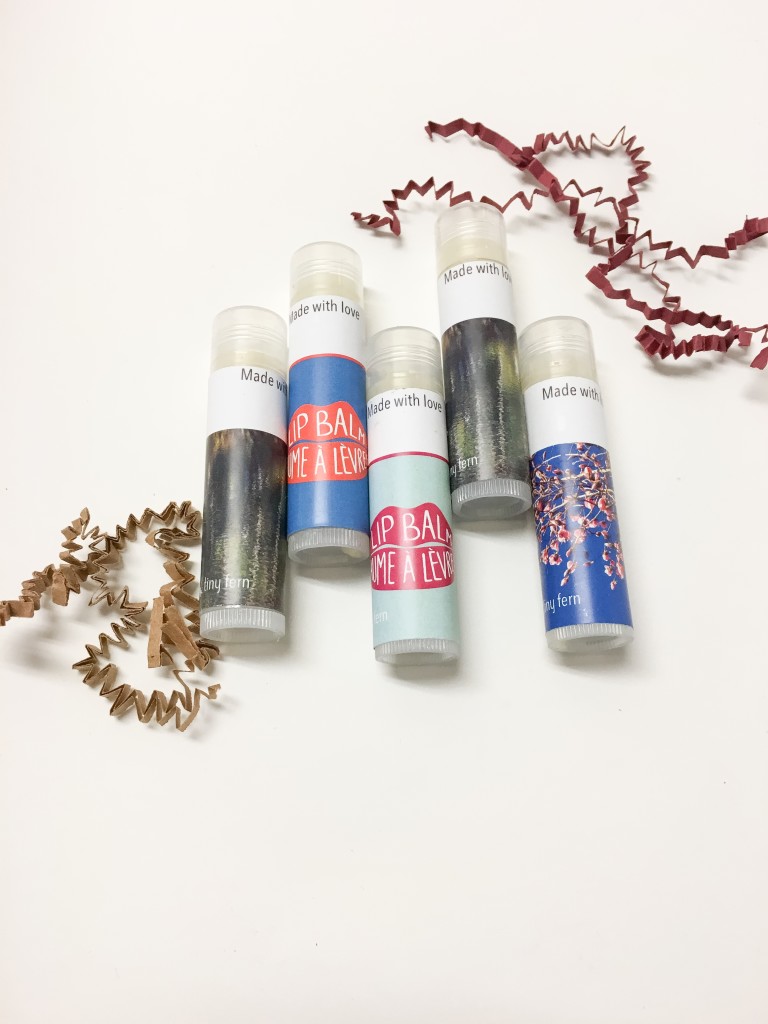
Apply the labels of your choice. The ones with images look best when the white rectangle runs along the length of the tube. Customize the labels as you wish by adding drawings, the scent, your name or the name of the person who will receive them as a gift.
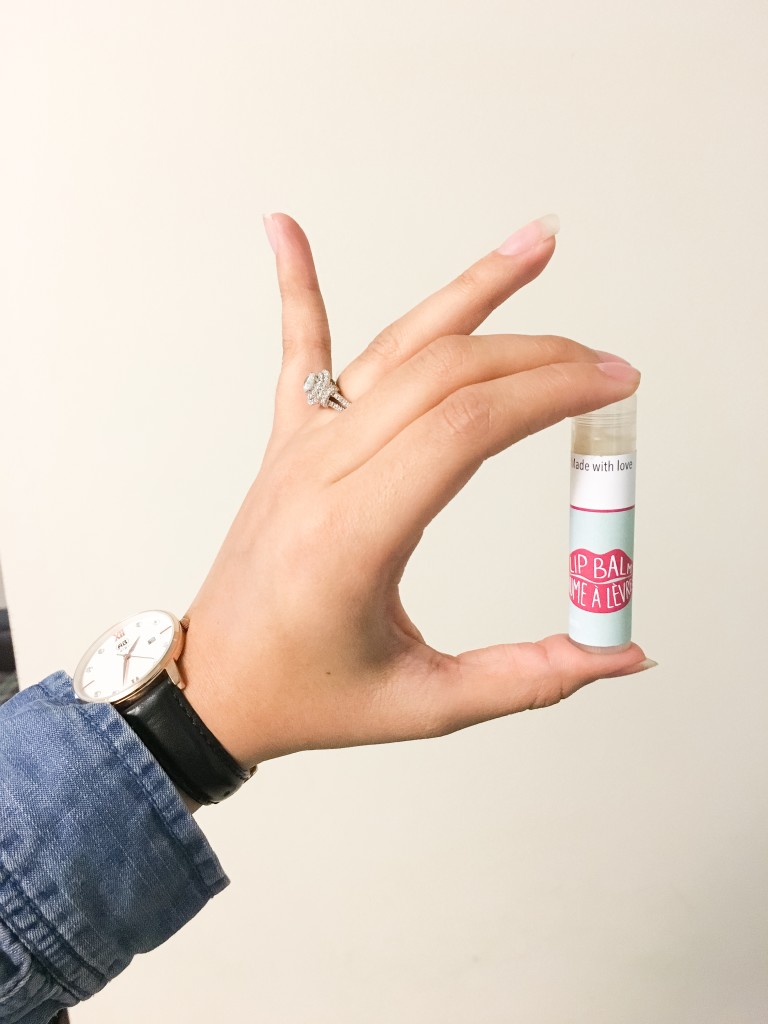
Heres how ours turned out !
DIY lip balm, Tiny fern, how to make your own lip balm
These DIY Lip Balm and Body Butter kits from Tiny Fern make great gifts for any age! Head over to Tiny Fern to purchase yours today!
xoxo,

HEYDY


How to wear a Blanket Scarf w/ Shop Zyania

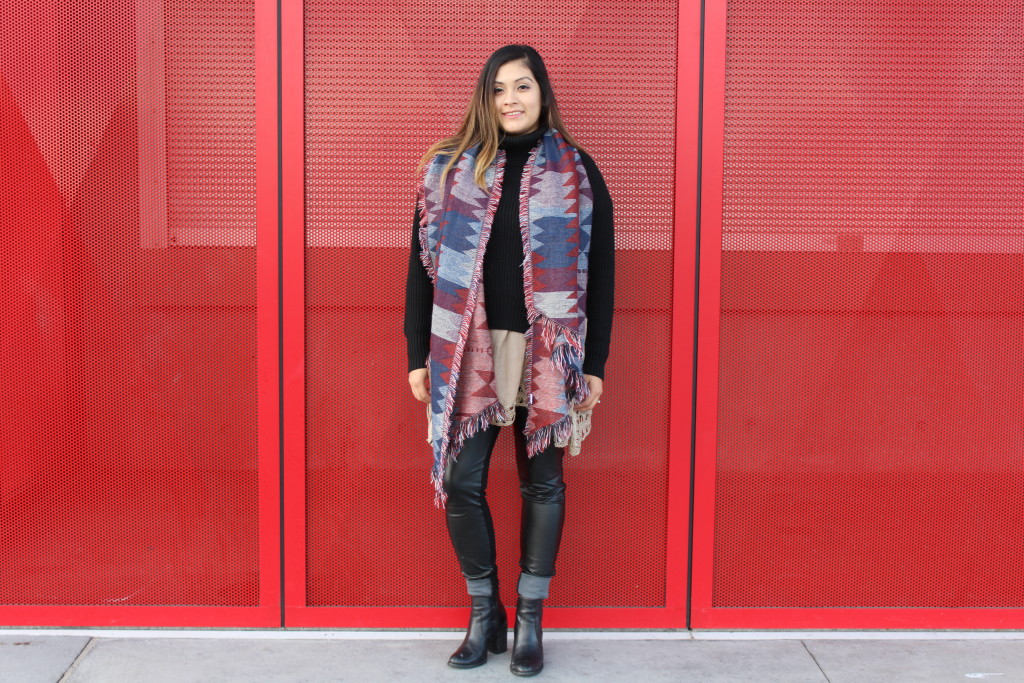
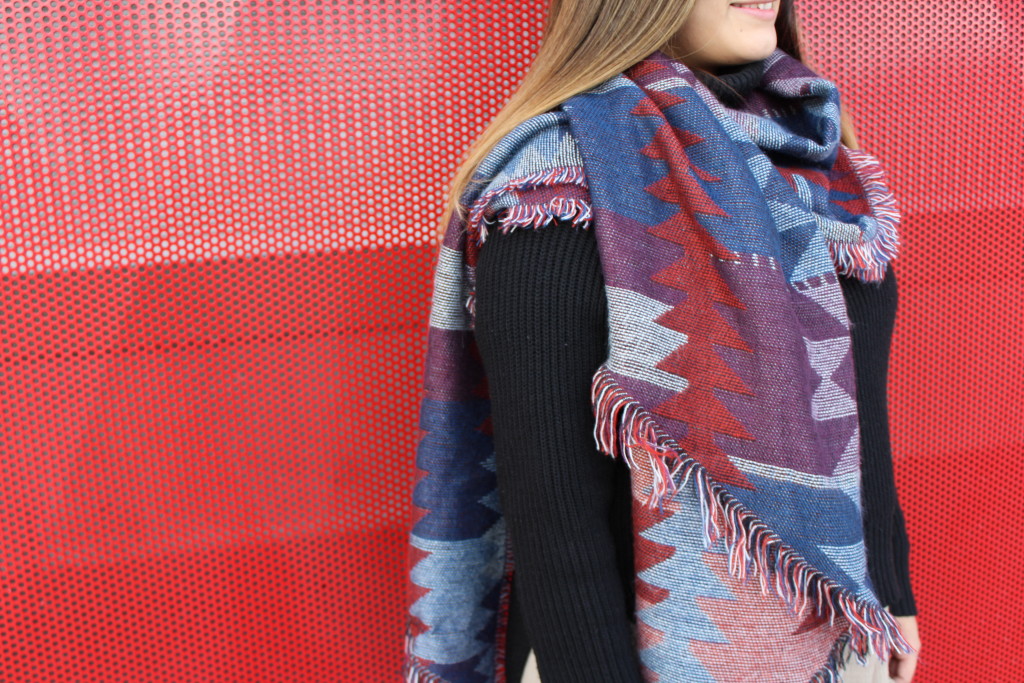
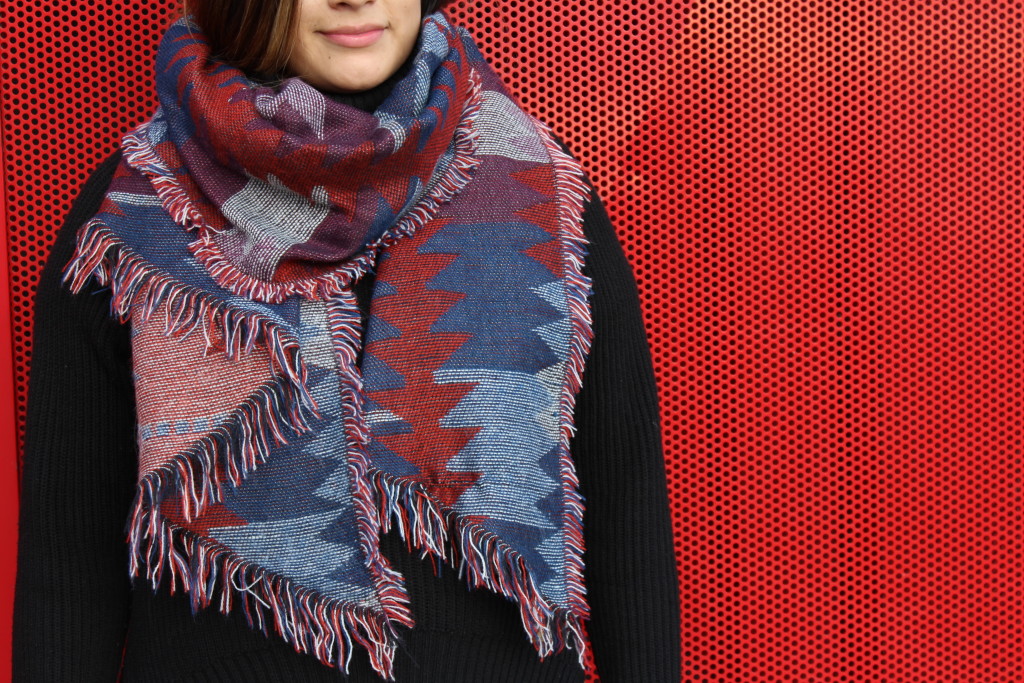
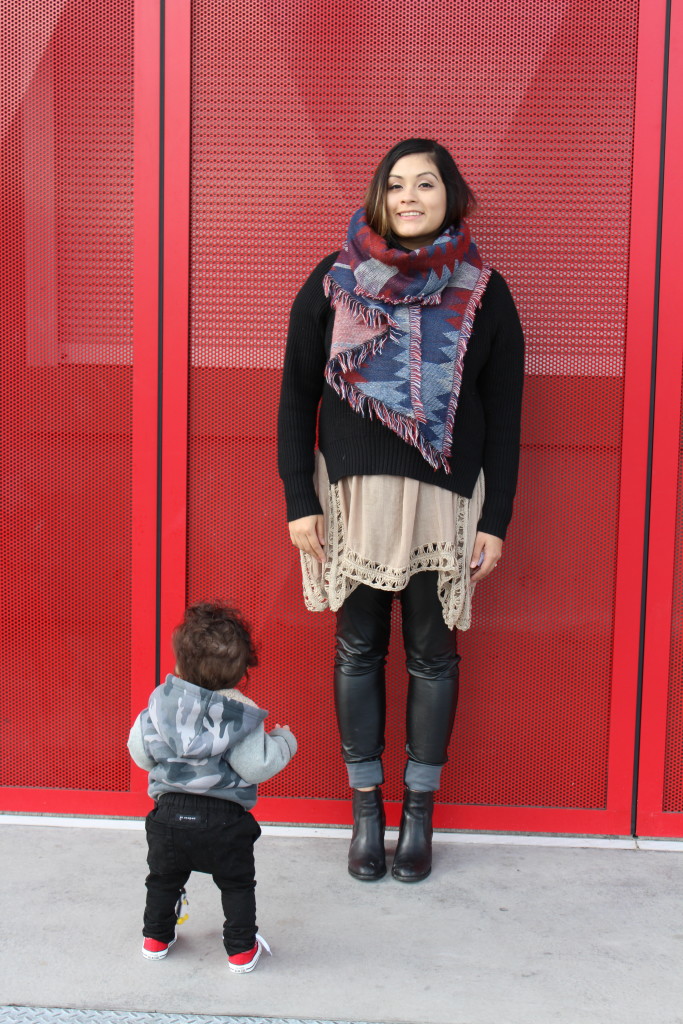
If your a local Vancouverite, you already know that there are a few essential pieces of clothing/accessories you must own during the winter season. Such as a warm parka, umbrella, rain boots, toque, gloves and of course a comfy blanket scarf!
Today I am sharing four ways how to wear your blanket scarf from zyania.com. I received this item in exchange for an honest review, please read my Disclaimer page for further information.

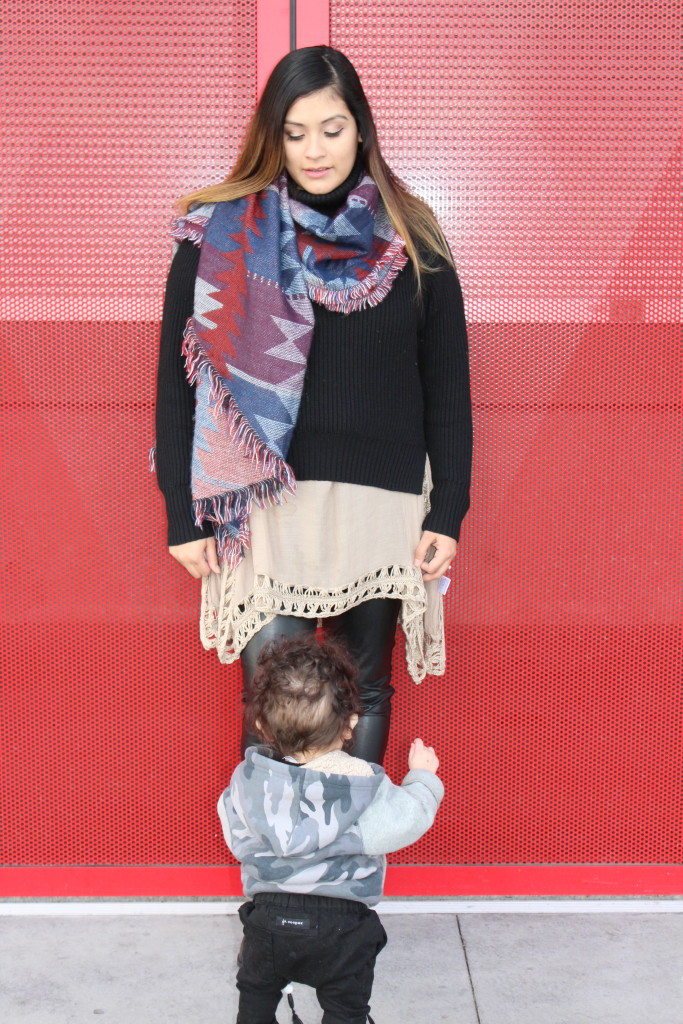
LET IT HANG

This is my favourite to way to wear my blanket scarves! A super quick and easy look!
How to wear a blanket scarf

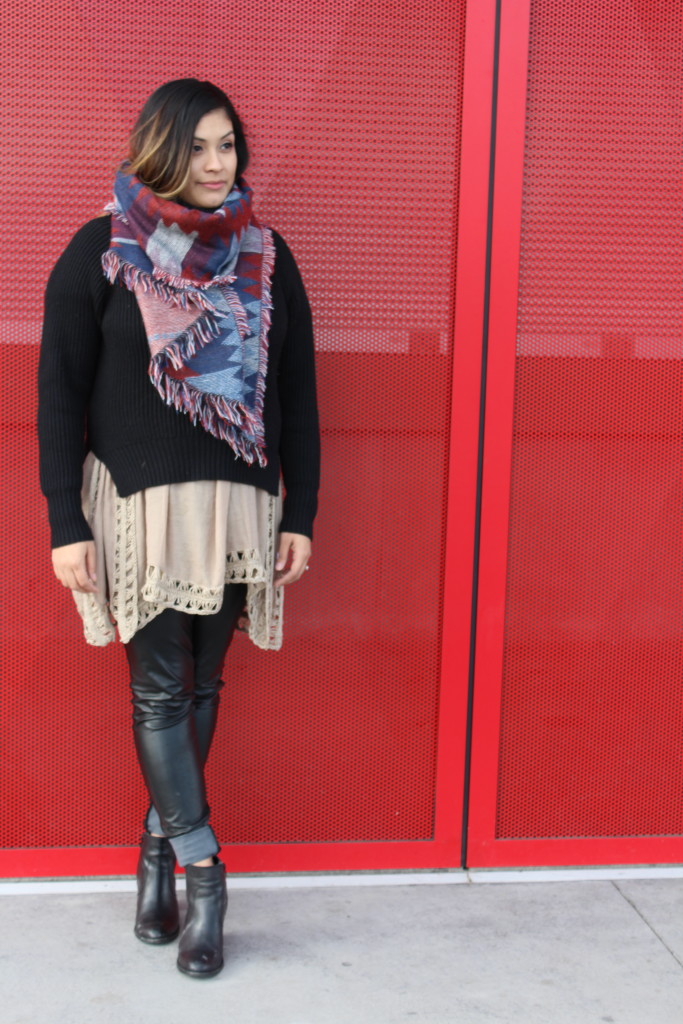
OVER THE SHOULDER

Another easy way to wear your scarf ! Just throw one side of the scarf over your shoulder and voila !
How to wear a blanket scarf
how to wear a blanket scarf
How to wear a blanket scarf

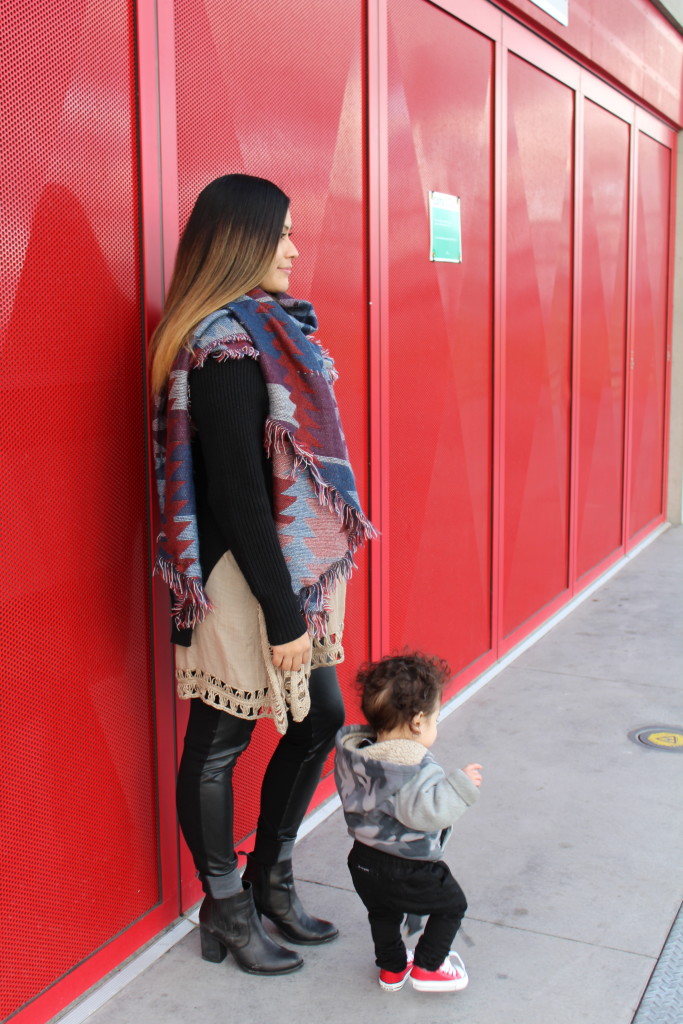
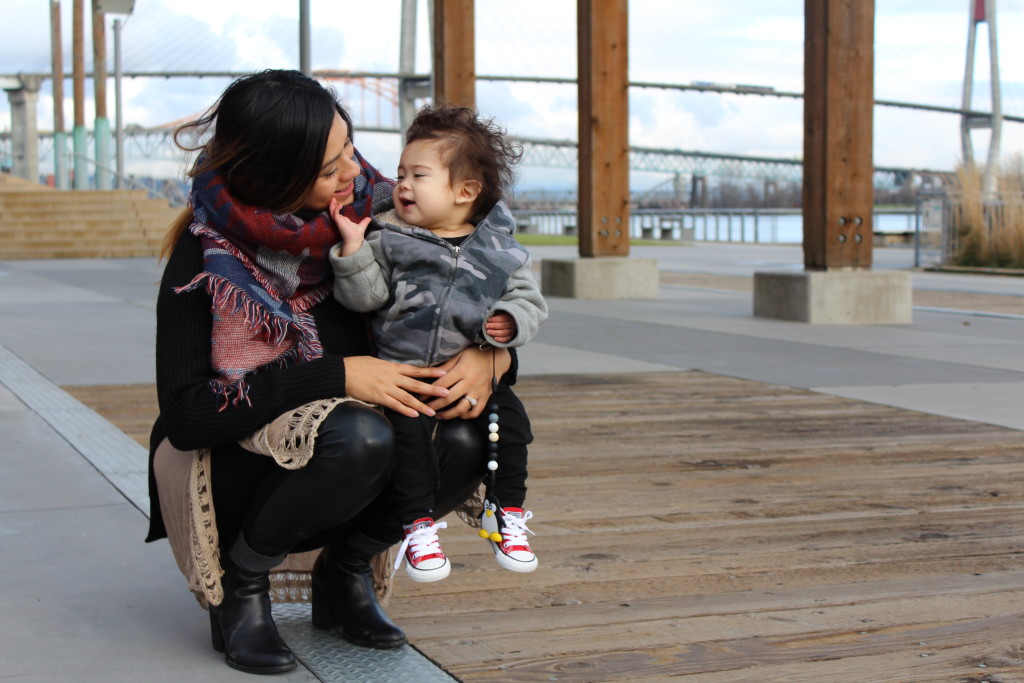
WRAP IT AROUND

When wrapping your blanket scarf around make sure to use this method {front,  twist  around back to the  front} – I hope that made sense 🙂

how to wear a blanket scarf

How to wear a blanket scarf
how to wear a blanket scarf
How to wear a blanket scarf

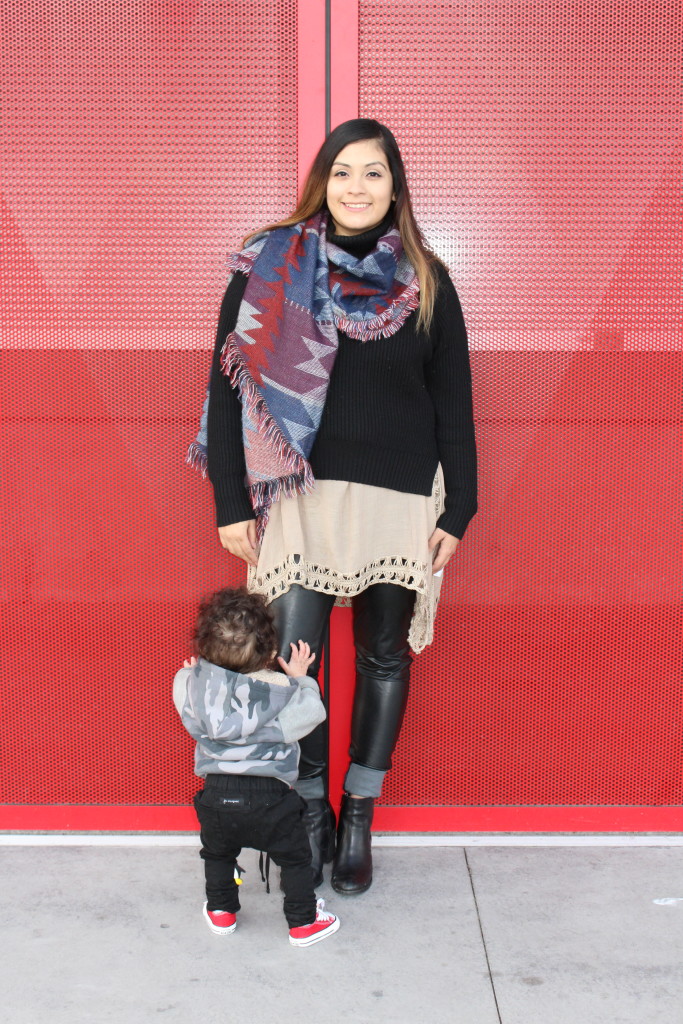
Last but not least,

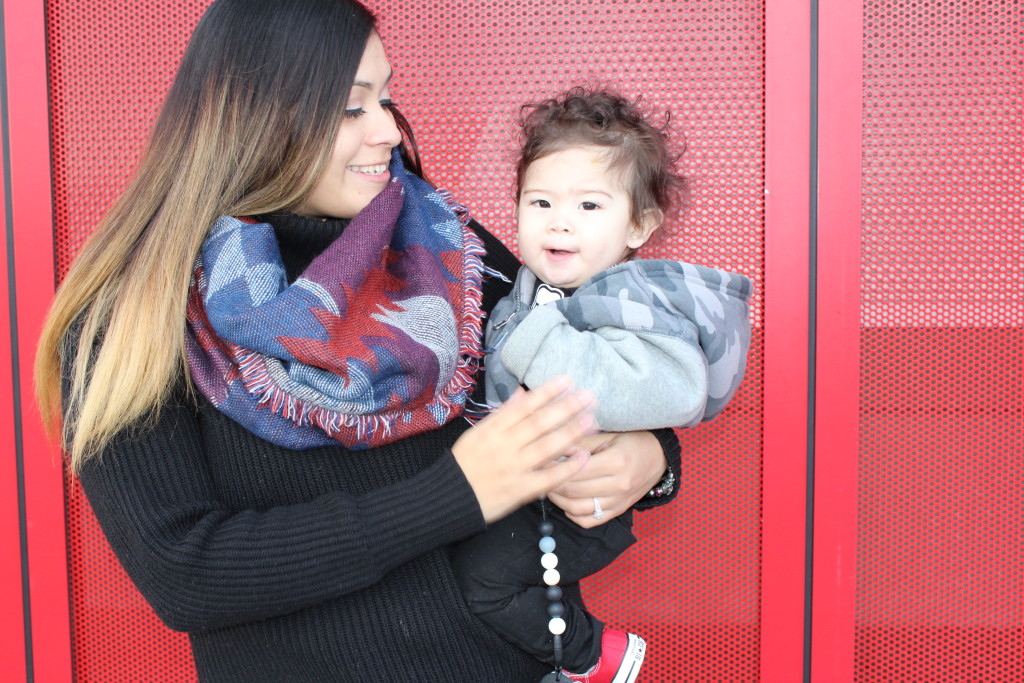
INFINITY

Tuck and adjust the edges creating a circle ! ta-da!
how to wear a blanket scarf
There are plenty of more ways to wear a blanket scarf but for now I shall leave you with these four ways!
Head over to www.zyania.com and check out what other Blanket Scarves they have to offer! oh and the best part? Their scarves don’t break the bank!
with love,

HEYDY

Simply Sweet Engagement Photos

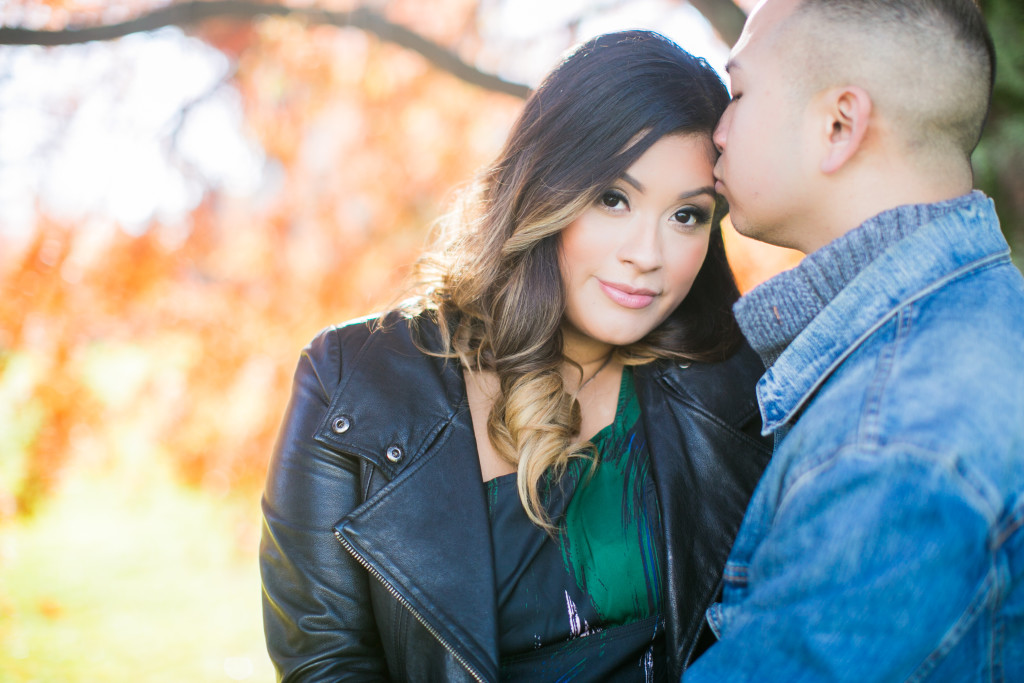
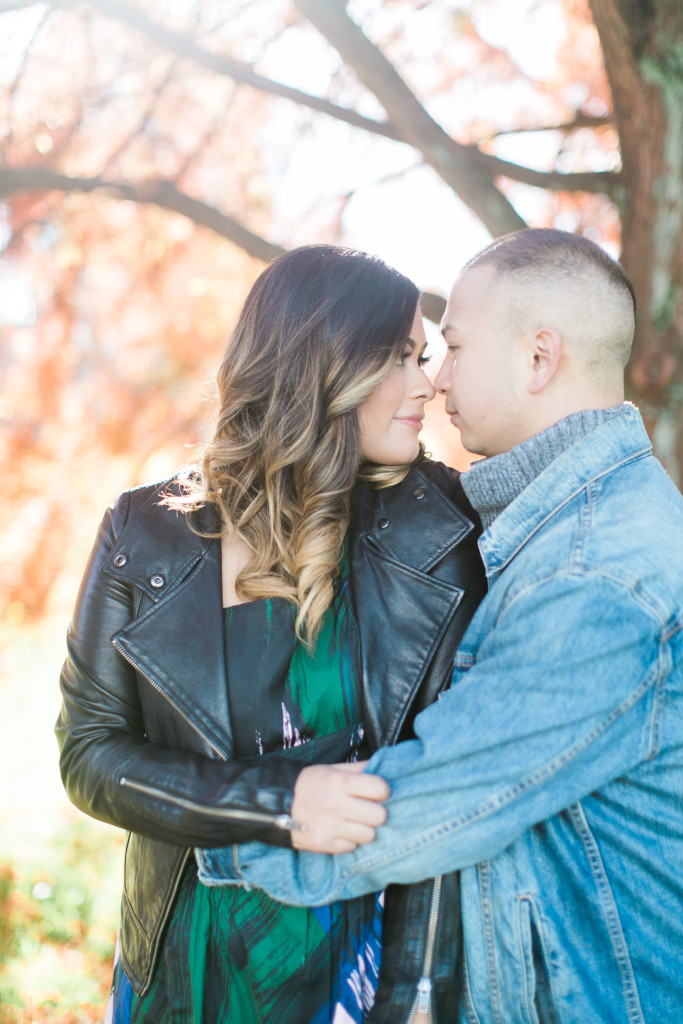
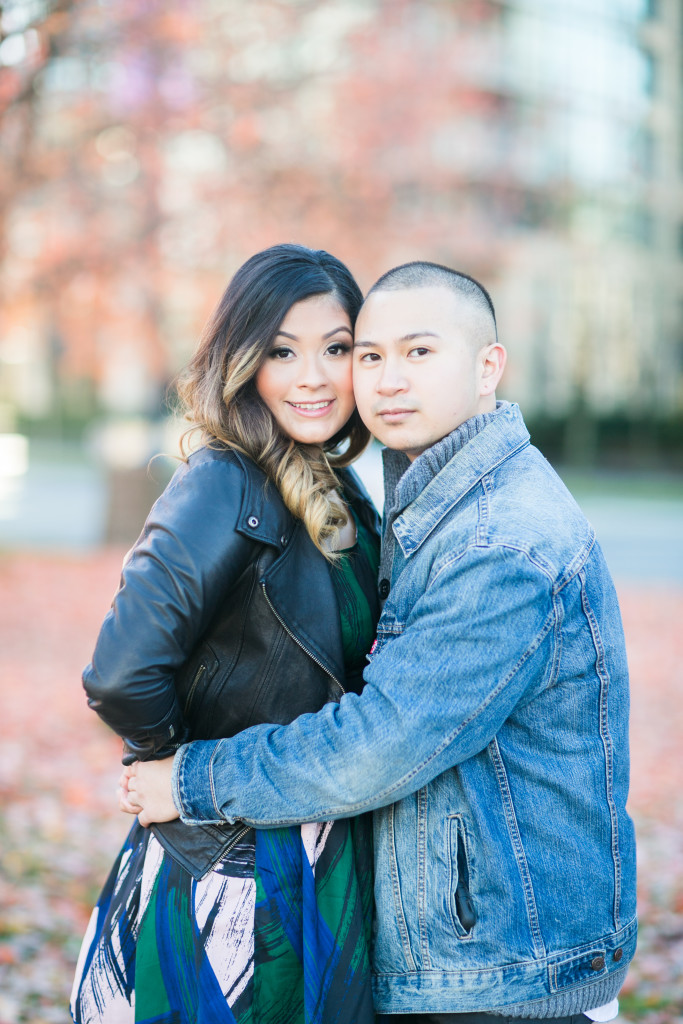
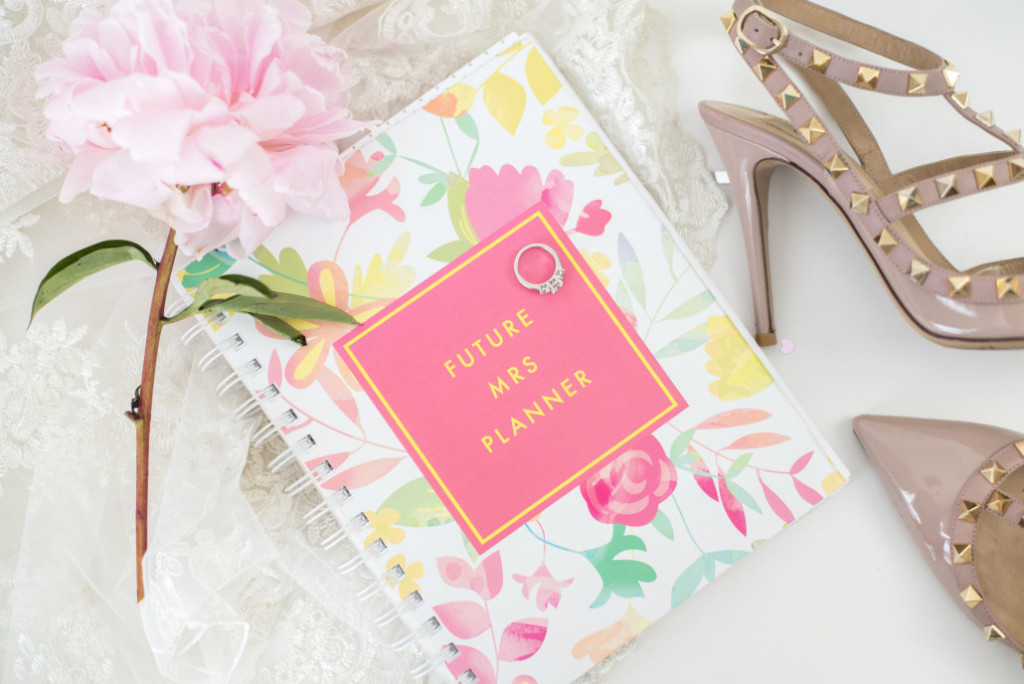
A couple weeks ago, Miguel and I had the pleasure of being photographed by Nomo of www.simplysweetphotographybynomoakisawa.com ! I spent the morning of the shoot, getting my make up done by Jasmine of www.jasminehoffman.com and hair done by Courtney of www.facebook.com/courtneyBhair ! Also, I wanted to give a special shout out to Tanya & Karen Lee of www.futuremrsplanner.com and slmissglambeauty.com for providing me with a beautiful wedding planner and a set of luxury lashes ! Please take the time to visit their sites/pages and show them some love!
wedding planner
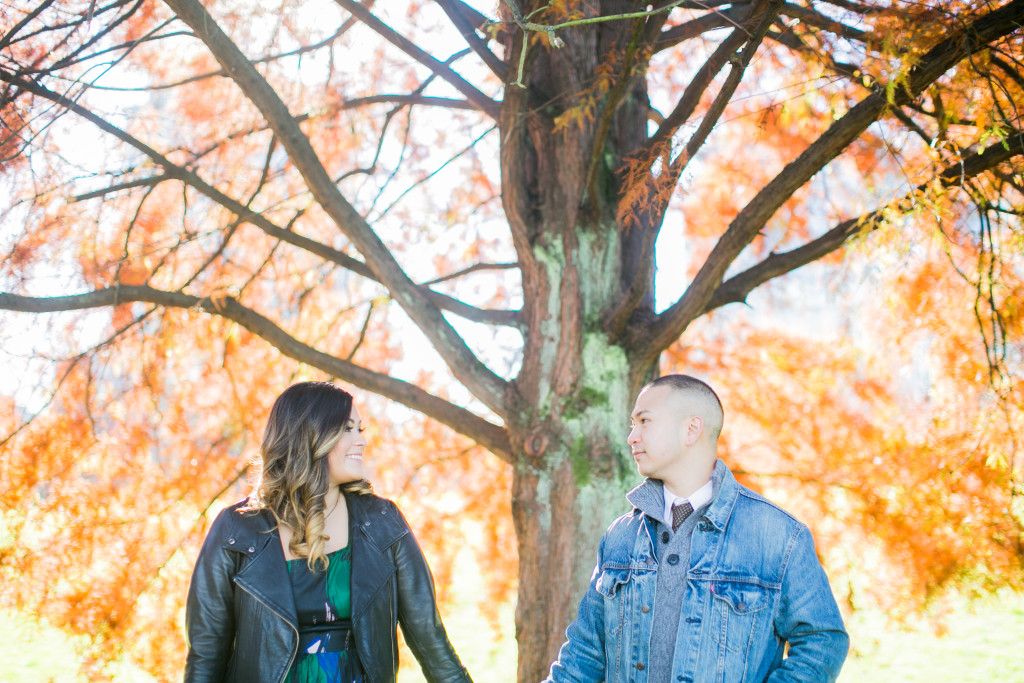
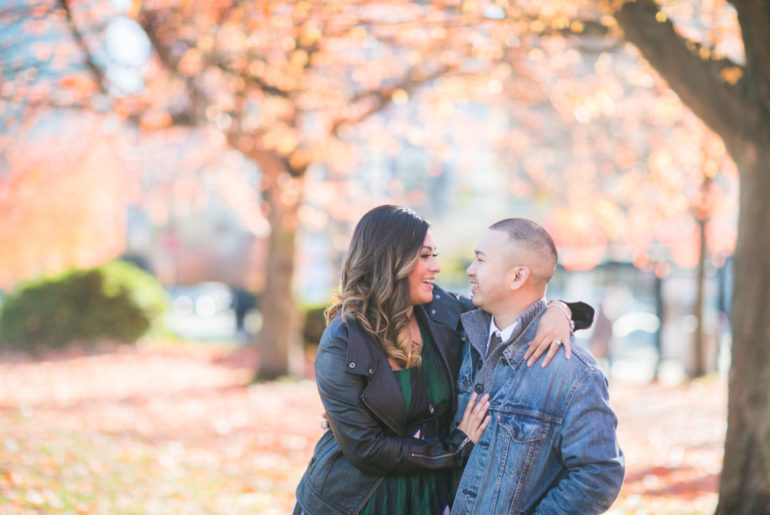
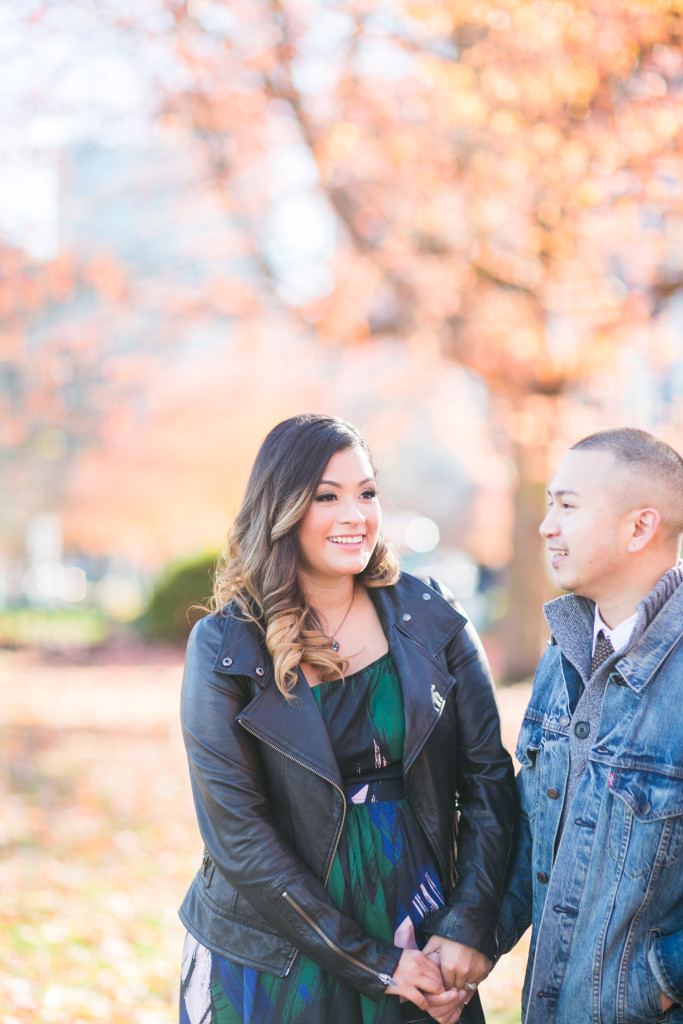
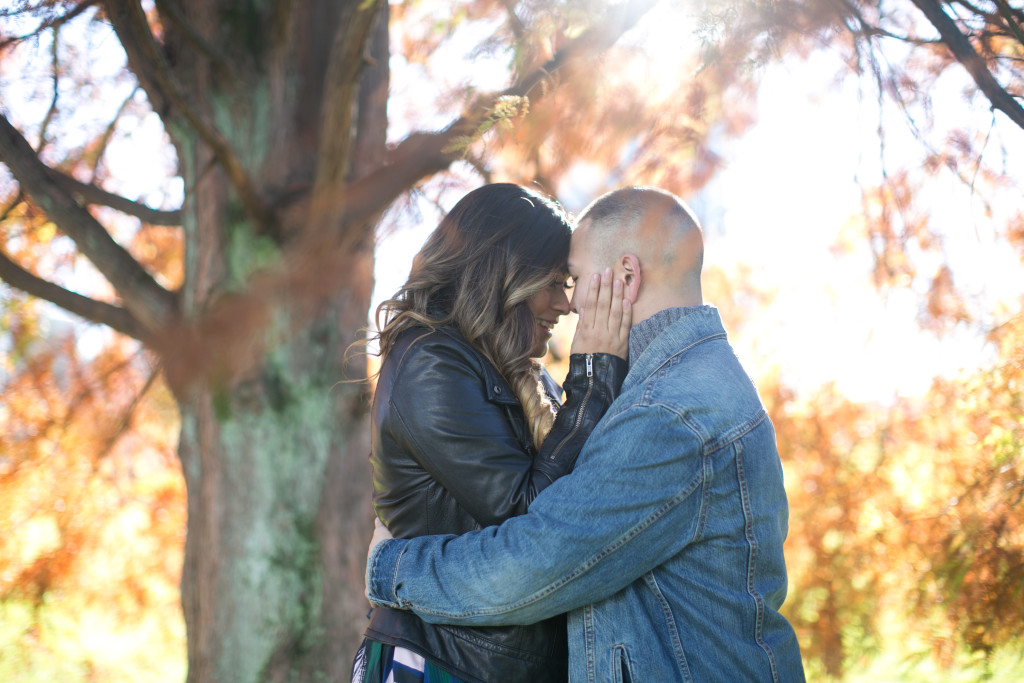
After some needed pampering, Miguel and I headed off to Stanley Park to pose for the camera! The combination of the hair, make up, and photography made the day absolutely perfect! Our engagement photos turned out amazing, and I just had to share my some of my favourites with you !! I hope you enjoy!!
simply sweet photography, engagement photos, raisingjayandabel
Hello Cailie! Congrats!! and thank you so much for entering and following along some great shops in the Raisingjayandabel blog launch giveaway! Your name was selected as the winner of the Beansie Baby Prize!! We know you are going to love this and can't wait for you to get your prize. Please contact Sydney with your full name and mailing address and ask if there is any other information they might need, her email is CC'd to this message. Thank you again so much for your participation, have a great day
simply sweet photography, engagement photos, raisingjayandabel

simply sweet photography, engagement photos, raisingjayandabel

simply sweet photography, engagement photos, raisingjayandabel
Thank you for taking the time to check out our engagement photos! Let us know what you think !
with love,

HEYDY

Aibi watch review & giveaway

Hello Darlings!!!

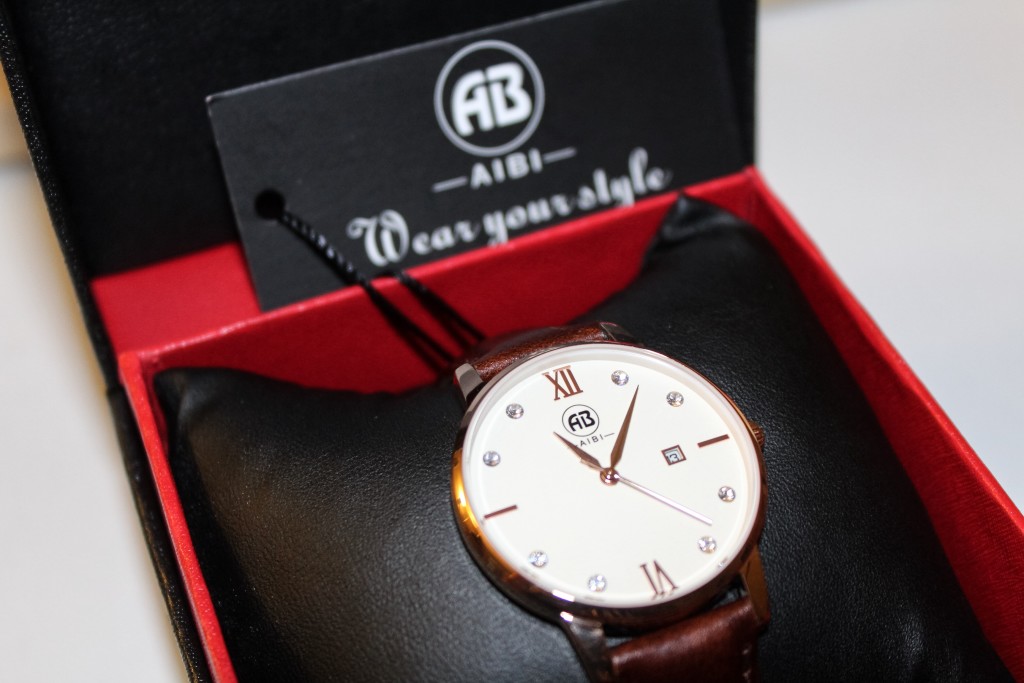
So remember that sneak peak I posted on my Instagram  5 days ago about the pretty amazing prize you could win? Well my friends, the wait is over!! Have you ever heard of Aibi watches?!! If not, head over to the site aibiwatch.com and take a look at all the beautiful  watches they have to offer! (Aibi watch sent me this watch in exchange for an honest review, please read my  disclaimer page for more information.)

Did you know that I’ve never actually owned a watch before [insert shocked emoji]?! I always just used my cellphone to tell me what time it was, or if I didn’t have my phone on me, I would go to a random person with a watch on and ask them…I mean, I had no choice!

AdobePhotoshopExpress_2015_11_12_182643

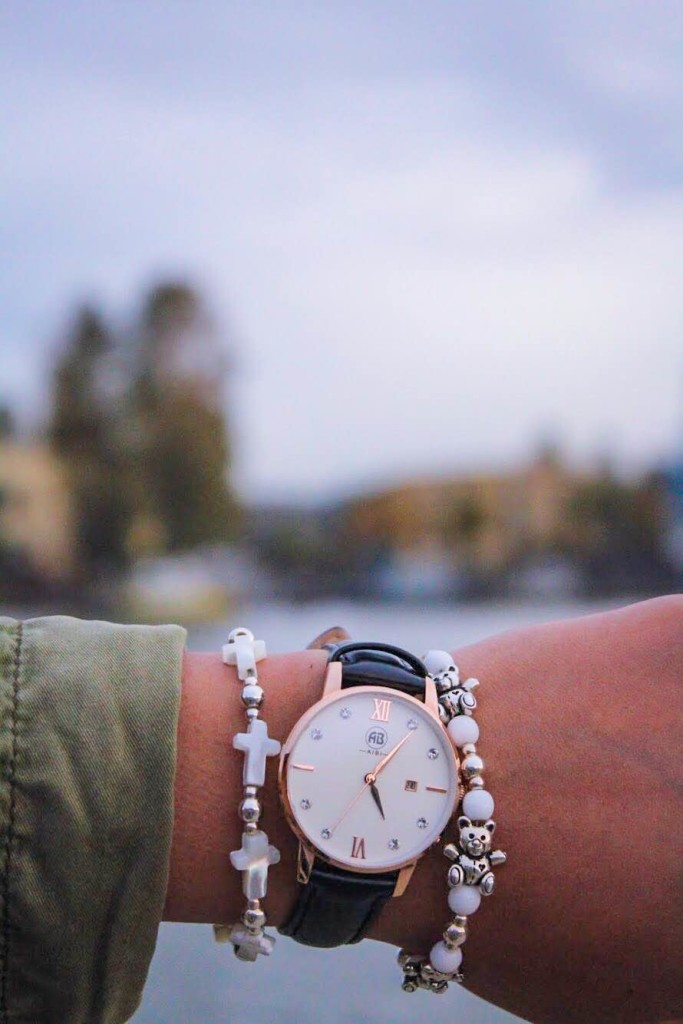
If you have been following along for awhile, you will notice that I’m all about the simple things. Monochromatic, black, white, and grey with hints of forrest green and maroon, is what I’m all about. So of course, I chose the Julia Engel design in Rose Gold so that I could wear my new Aibi Watch with all the beautiful colors that I own [LOL!].

AdobePhotoshopExpress_2015_11_12_182146

Aibi Watches x Raisingjayandabel

So lets talk a little about these stunning watches!

Appearance:

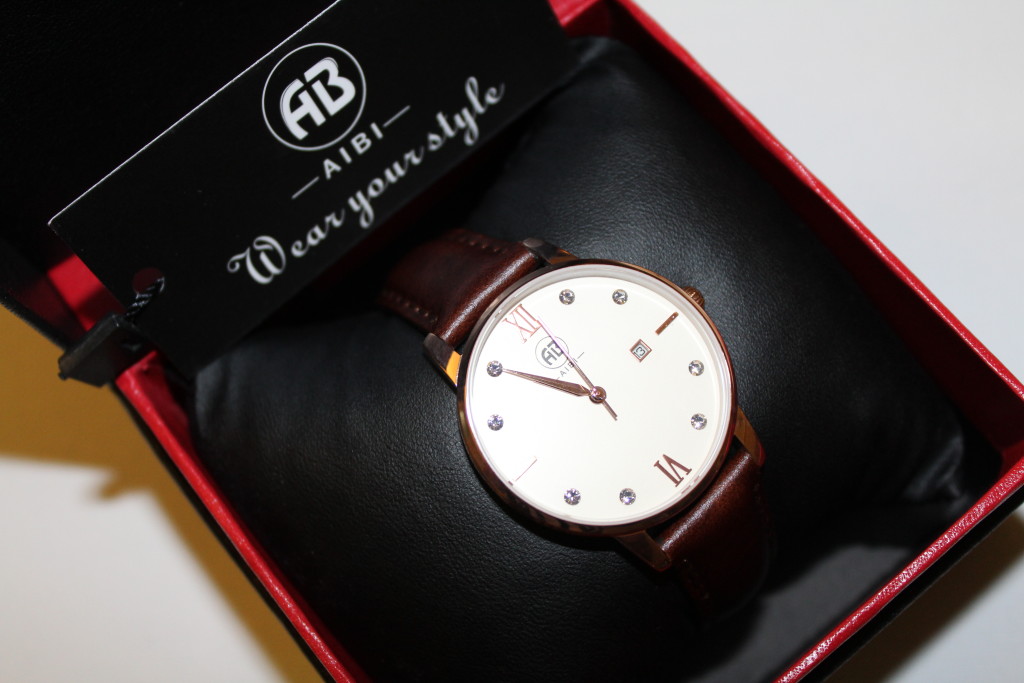
I was pleasantly surprised when I received my watch. The Julia Engel watch features a large but minimal face with no numbers. Instead, you get to look at beautiful silver crystals that replace the usual numbers and two roman numerals that represent the twelve and six. The watch sits on a genuine black leather band and measures 8.5 inches long.

Build:

The build on the casing and the face of my watch is very high quality. It comes with a Stainless Steal caseback and is surrounded with a Rose Gold casing. The watch also has an adjustable Buckle Clasp and fits most wrist sizes!

Function:

Admittedly, I had a hard time setting my watch because I’ve never owned a watch before BUT after a few minutes of playing around with it I figured it out and was able to get my watch working. To set the watch, simply pull out on the dial until you see the little silver part of the dial. Don’t worry, you won’t break it. Once you can see the silver part of the dial, turn the dial up or down (whichever you prefer) until you reach the time you like and then push that dial back in! It should work perfectly !!

Overall:

I am absolutely loving my simplistic watch from aibiwatch.com. I’ve had my watch for a month now and I can honestly say that having a watch has been such a time saver [ pun intended] for me! Trust me, digging through my diaper bag to look for my phone to check the time has been such a pain! Why do our children need so many things?!

Abi Watch, Raisingjayandabel

Aibi Watch

IMG_2773

Not only was I sent one for myself, I was sent a second one to giveaway! I am thrilled that one of you lucky babes will be able to win a beautiful Aibi watch of your own so that we can be all matchy matchy together!! I am doing things a little different and hosting the giveaway on my Instagram instead of the blog!

So make sure to follow me Raisingjayandabel and Aibi Watch on Instagram, Tag a friend or more to spread the love! There is another way to get bonus entries but you’ll have to find out what it is over on my Instagram!

If you don’t want to wait until the giveaway is over and want to own an Aibi Watch of your own make sure to use code “HEYDYLO” at checkout for twenty dollars off [how rad is that?!]Thanks for reading loves and good luck!

“It is not AIBI that attaches connotation to true love, but true love calls the crystal birth of AIBI.”

with love,

HEYDY

alibi watch, twenty, raisingjayandabel

My 5 minute make up routine for busy mamas

Hey Mamas!

If your anything like me and rarely wear any make up and need a quick and natural make up routine for your “every once in a while look” then this one is definitely for you!

Over time [ and I mean a loooong time] I have been able to establish a make up routine that works for me. To tell you the complete and honest truth I am definitely a make up addict.I mean who can resist those  Urban Decay Naked Palettes ?! I sure can’t!  But does that mean I use every single mascara, blush, eyeshadow palette, or lipstick that I own? The answer is simply no.

When it comes to waking up [ew] and then putting on make up every single day [double ew] its just not my cup of tea. I would much rather sleep! Can I get an Amen? Your probably asking yourself, Why do you buy all that make up then?! Well, my friends, my answer to you is that I am a woman, and I do things that don’t make sense.

So with a lot of practice and timing I have been able to get my make up routine down to just 5 minutes! The faster I can look “decent”  enough to go to the mall, mommy groups, grocery shopping, and all that fun stuff moms do, the better! Here are my tips for you naturally beautiful mamas that want to add a little uphm to your day.

Please feel free to take out or add any of the steps listed below to better suit your needs.

Start with your daily beauty routine [i.e wash face, brush teeth, moisturize, stare at that imaginary pimple that you think you see].

IMG_2239

STEP 1. Apply your foundation of choice

I suggest using a beauty blender if you are using a liquid foundation and remember to “dab” the foundation  and not “spread” to create a natural blended look.

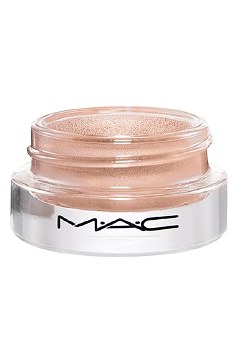
[optional] STEP 2. Apply the Pro Longwear Paint Pot to the lid of your eye

Pro Longwear Paint Pot is a a long-wearing blendable cream shadow that can be worn alone or with other products. You can purchase your desired Paint Pot color from your local Mac Cosmetics. Make sure to blend up towards your upper eyelid to eliminate any creasing.

Raising Jay and abel

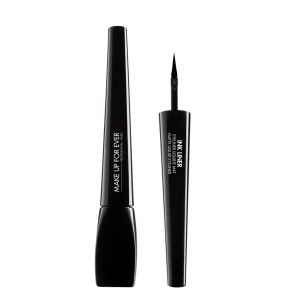
STEP 3. Apply a liquid liner to create a subtle yet dramatic effect

This is a brand new product that I am trying! I always look for make up items that are mommy friendly. What are mommy friendly items? For me, mommy friendly are products that last long and don’t need reapplying for 12 hours. This Matte Ink Liner is doing the trick so far. For a perfect line, press and hold the liner from the inner corner out. If necessary make sure to go back and fill in the line.

www.raisingjayandabel.com

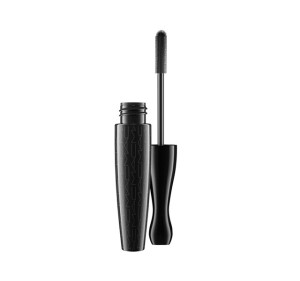
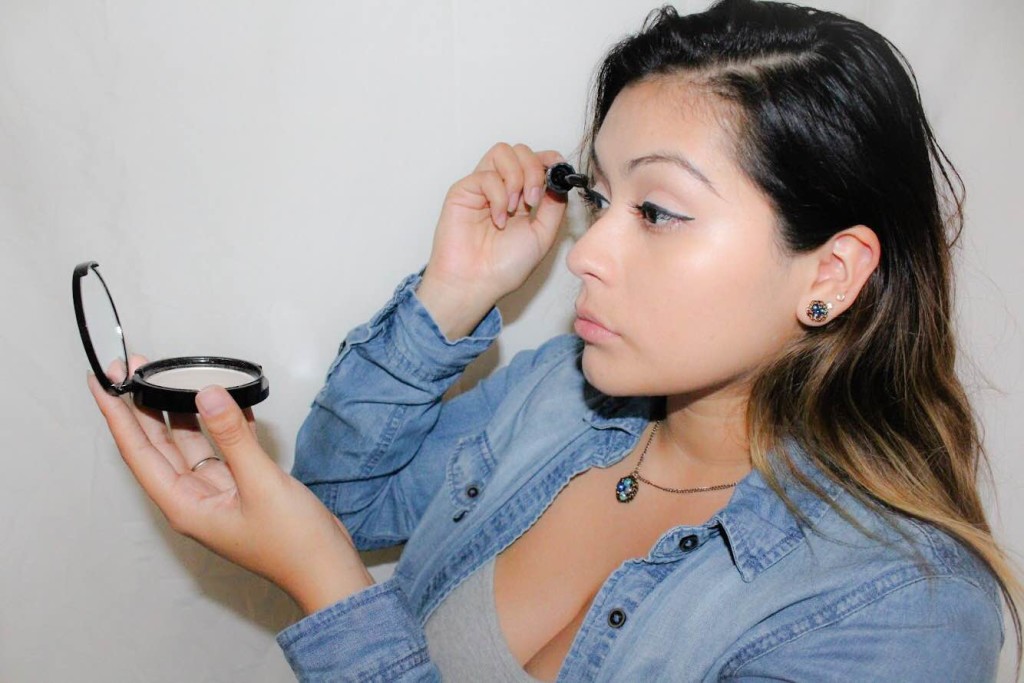
STEP 4.  Apply your Mascara of choice.

As of now, I am using the in Extreme Dimension 3D BlackLash, a carbon black mascara with a large molded brush that creates extreme volume and curl! You may also purchase this from Mac Cosmetics. Instead of using the “zig zag” technique I suggest to go upwards with the brush to create a fuller look.

 mac_sku_MN6501_640x600_0

Raising Jay and Abel x Beauty

STEP 5. Apply your desired highlighter, blush, bronzer, etc.

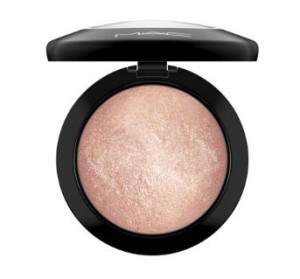
Too add a little shimmer to my face, I use the Mineralize Skinfinish in Soft & Gentle, this product is also from Mac Cosmetics. Using a  small powder brush, apply the highlighter to on the upper cheeks in a circular motion. Make sure you don’t use a whole lot of this product.. well you can if you want to look like a glitter unicorn 😉

Raisingjayandabel x Beauty

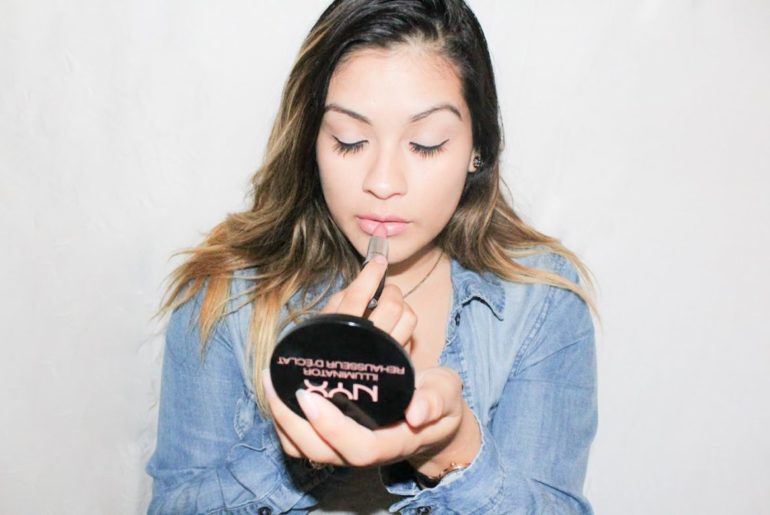
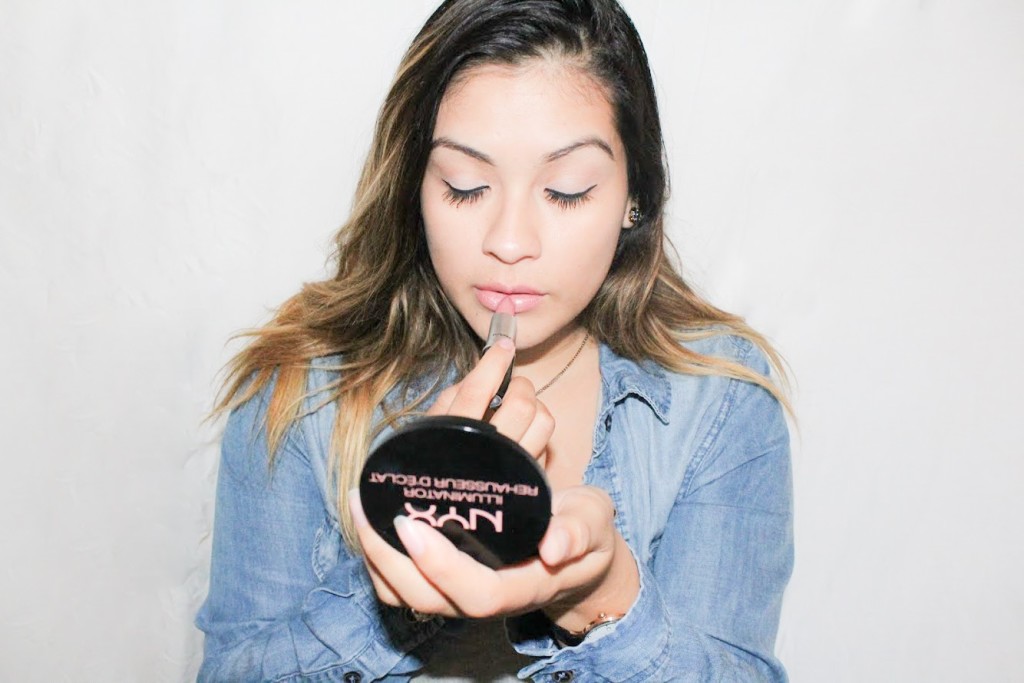
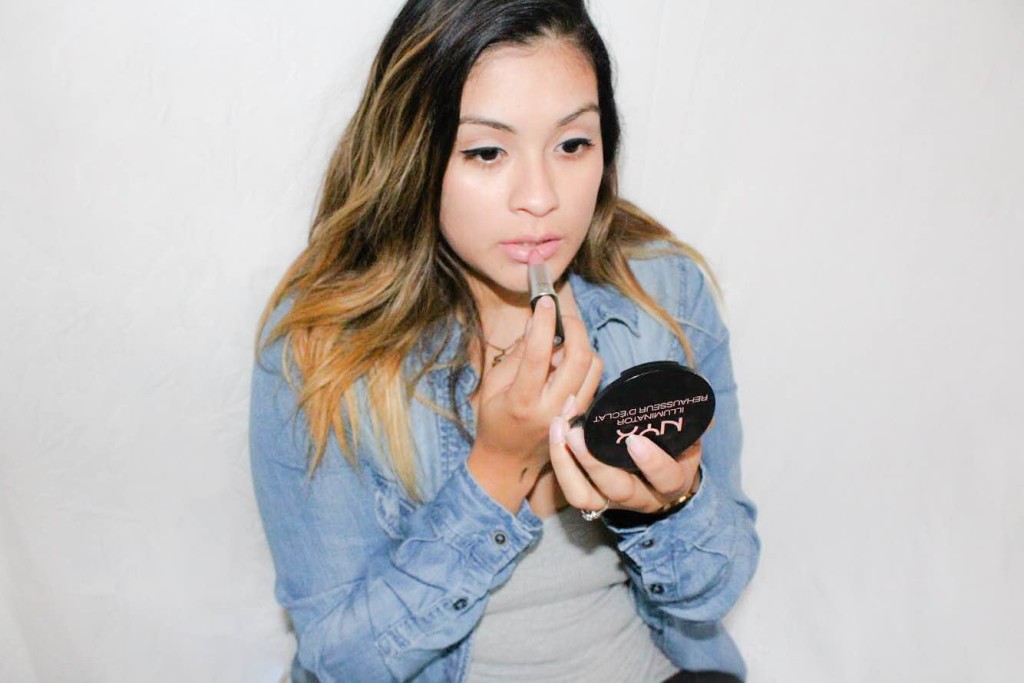
STEP 6. Finish off your look with a natural tone lipstick !


Style Beauty x Raising Jay and Abel

Raising Jay and abel x Beauty

Notice a pattern here?! I go hard on the “natural” but not really look! ha! Any who I hope you enjoyed my very first make up post!

I would love to hear some of your daily make up routines. What make up item can you not leave the house with?

with love,

HEYDY

Just the two of us

Hello Kismetlove readers !

My name is Heydy. I am Jayden and Abel’s mommy. I blog over at www. raisingjayandabel.blogspot.com. I am so thrilled and honoured to be sharing my breastfeeding journey with you!

Our breastfeeding journey has been…well.. quite a rollercoaster [and I’m still on it]. I knew that breastfeeding wasn’t going to be a breeze for the first couple weeks [at least for me]. I had to learn a new, world changing, skill in just a few short days. But, I didn’t want to let my anxiety and exhaustion stop me from reaching my breastfeeding milestones.

While I was pregnant I had set some personal breastfeeding goals for myself. Since I never got to breastfeed Jayden, reaching these goals were [and are] very important to me.
 

Our little feeding captures

The first was reaching 3 months of exclusive breastfeeding. Now I will admit, it was tough for me. At first, all I wanted to do was give up. I was exhausted, I was emotional, I was frustrated. I would think to myself “why isn’t Abel latching”, “what am I doing wrong” and “will it ever get better?”  I obviously didn’t have the answers, so I reached out and asked for help.  I read tons of articles and watched tons of videos! I slowly started applying what I was learning to our breastfeeding attempts.

Slowly, but  surely, I started to enjoy breastfeeding. I found that the best feeding position for us was when laid down together. Abel could latch easier and we both could rest.

Breastfeeding was second nature while we waved goodbye to the 3 month mark and said hello to our 6 months of exclusive breastfeeding!
I was so ecstatic that I reached my second goal ! Still had some trouble with sore nipples but nothing that I couldn’t handle. Sleepless nights were starting to become just a mere memory, then it hit us hard. Just when I thought that we were settling into a routine, Abel began to cluster feed.
 

Abel at 6 months

This happened around the 7 month mark and this is were we are currently.

I wake up 3-4 times a night to feed Abel. Just as much as I did when Abel was a newborn. To top it all off, he is also cutting his two bottom teeth while dealing with his separation anxiety stage.
Needless to say, this mama is tired.
I continue to take our breastfeeding journey day by day. Sometimes I just want to cave in and give him formula, because I am so exhausted. Then I remember, I might not get this moment with him again and then I pause..and take a breath.
I know some mama’s have no issues when it comes to their breastfeeding journey with their Little’s. I am, unfortunately, not one of them.
We will be celebrating our 8 month breastfeeding anniversary in a couple days and all I can think about is how far we both come. I know we will get through our little hump. We just have to keep pushing through.
xoxo,
Heydy

Teen mom OG

Hey guys!!
First off, thank you to all the people who took the time to read my “20 Facts” post! I received incredible feed back 😀
This post is a little bit more serious… I decided to write about my experience as a Teen mom.
Many of you reading know…or found out by reading my last post that my oldest son, Jayden Ray, was born when I was 16 years old… automatically classifying me as a quote on quote “Teen mom”.
I want to be honest with you all, I had such a hard time trying to figure out how I would write going forward. but I decided to just write my posts the way I would talk to my family and friends. I don’t want to put up a front on my blog because that’s not me. ANYWHO, I will stop rambling now…. 😉
I’ve always wanted to share my story..when I was 15 years old, I found out what I was pregnant with Jayden…I still remember the day like it was yesterday. I couldn’t believe it. I was SO scared.. especially to tell my mom. She worked so hard to try to avoid this. She WAS NOT happy at all to say the least. But she stuck by me and said “Heydy, you want to act like an adult, you have to deal with consequences”. So I did just that. I went through my pregnancy and did all the necessary steps to be successful. I was SO adamant that I was not going to be a statistic.
So I enrolled into the Young Parent Program that is offered here in Vancouver. If you are wondering what that is.. It is a program to help “Young Parents” who are pregnant, have a newborn, toddler, or child, complete high school. It is actually an amazing program and if it wasn’t for that program I don’t know where I would be right now.
Dragging myself out of bed every morning, with little to no sleep, to go to school was difficult. Especially, knowing that I had to commute 45 mins, on a bus & train, with a baby, to get to there . BUT, I did it, every school day for two years (unless my mom was feeling nice and drove me :P). You never really know what your capable of until you have no other choice.
Well, I’m lucky that I did drag myself out of bed, because I was able to get a scholarship to go to college. Which, coming from a low-income family, was a huge deal.
I graduated from high school in June 2009 and I knew if I didn’t go to college right away, I wouldn’t want to go in the future. So, I decided to take the Legal Administrative Assistant program and started that in September 2009. I was also able to manage to work P/T on the weekends so I had money to support myself.
I really didn’t want to go on welfare…so this was my life for 5 years, going to school and working. I hated the fact that I had to put Jay in daycare since birth. It hurts me to think I missed out on some of his milestones.
I managed to get a job as a LAA 6 months after I graduated from college in Feb 2011, and while I was looking for a LAA position I worked as a sales associate at one of the malls in Vancouver.

FINALLY! the day came that I was able to support myself and Jayden (that took a while) and I got a position as a LAA. All my hard work had paid off. I LOVE that I decided to go school, and I really want to go back to school to become a Paralegal.
I could go on and on, but I won’t because Abel is getting up. If you are wondering, I did go through a lot of trial and tribulations. I’ve moved countless of times, I worked so many different jobs, I went through a major break-up with Jayden’s dad causing many times in the courtroom. I’ve gotten plenty of stares from strangers, called names, and been told that I made a mistake keeping Jayden. I kept my head held high and of course I wanted to give up, but it just wasn’t an option for me.
IT WAS ALL WORTH IT & I would not take anything back.

Jayden will be turning 8 this September and it brings tears to my eyes thinking of everything we had to go through together. He made me who I am today. I believe that God sent Jayden to me at the right time and I’m so glad he did because I was headed down the wrong path.

I really want my experience as a teen mom to be heard so that any other young mom who is currently going through what I went through, knows, that it is NOT impossible to be successful, you just have to work EXTRA hard for it. I may not be rich with money, but I am rich with so many other things.

I wouldn’t be here without the support of my family and friends. They constantly encouraged me to move forward and to never give up. Because, in the end, after all my struggles and hardships as a teen mom, I am HAPPY with my life. I mean isn’t that the ultimate goal ?Thank you to all for reading and if you would like to ask me any question feel free to do so!
If you know a young/teen mom, lift them up, empower them, encourage them. If you are a teen/young mom then keep going because all the hardships are worth the rewards.
Lots of Love,
Heydy xoxo